Introduction
This tutorial covers the steps to quickly turn a basic SketchUp/VRAY view into a watercolor-style drawing. While there is no substitute for the real thing, the effect can be easily applied to give a drawing a softer and more conceptual or artistic feeling in contrast to the clean and perfect renderings that are now commonplace in our industry.
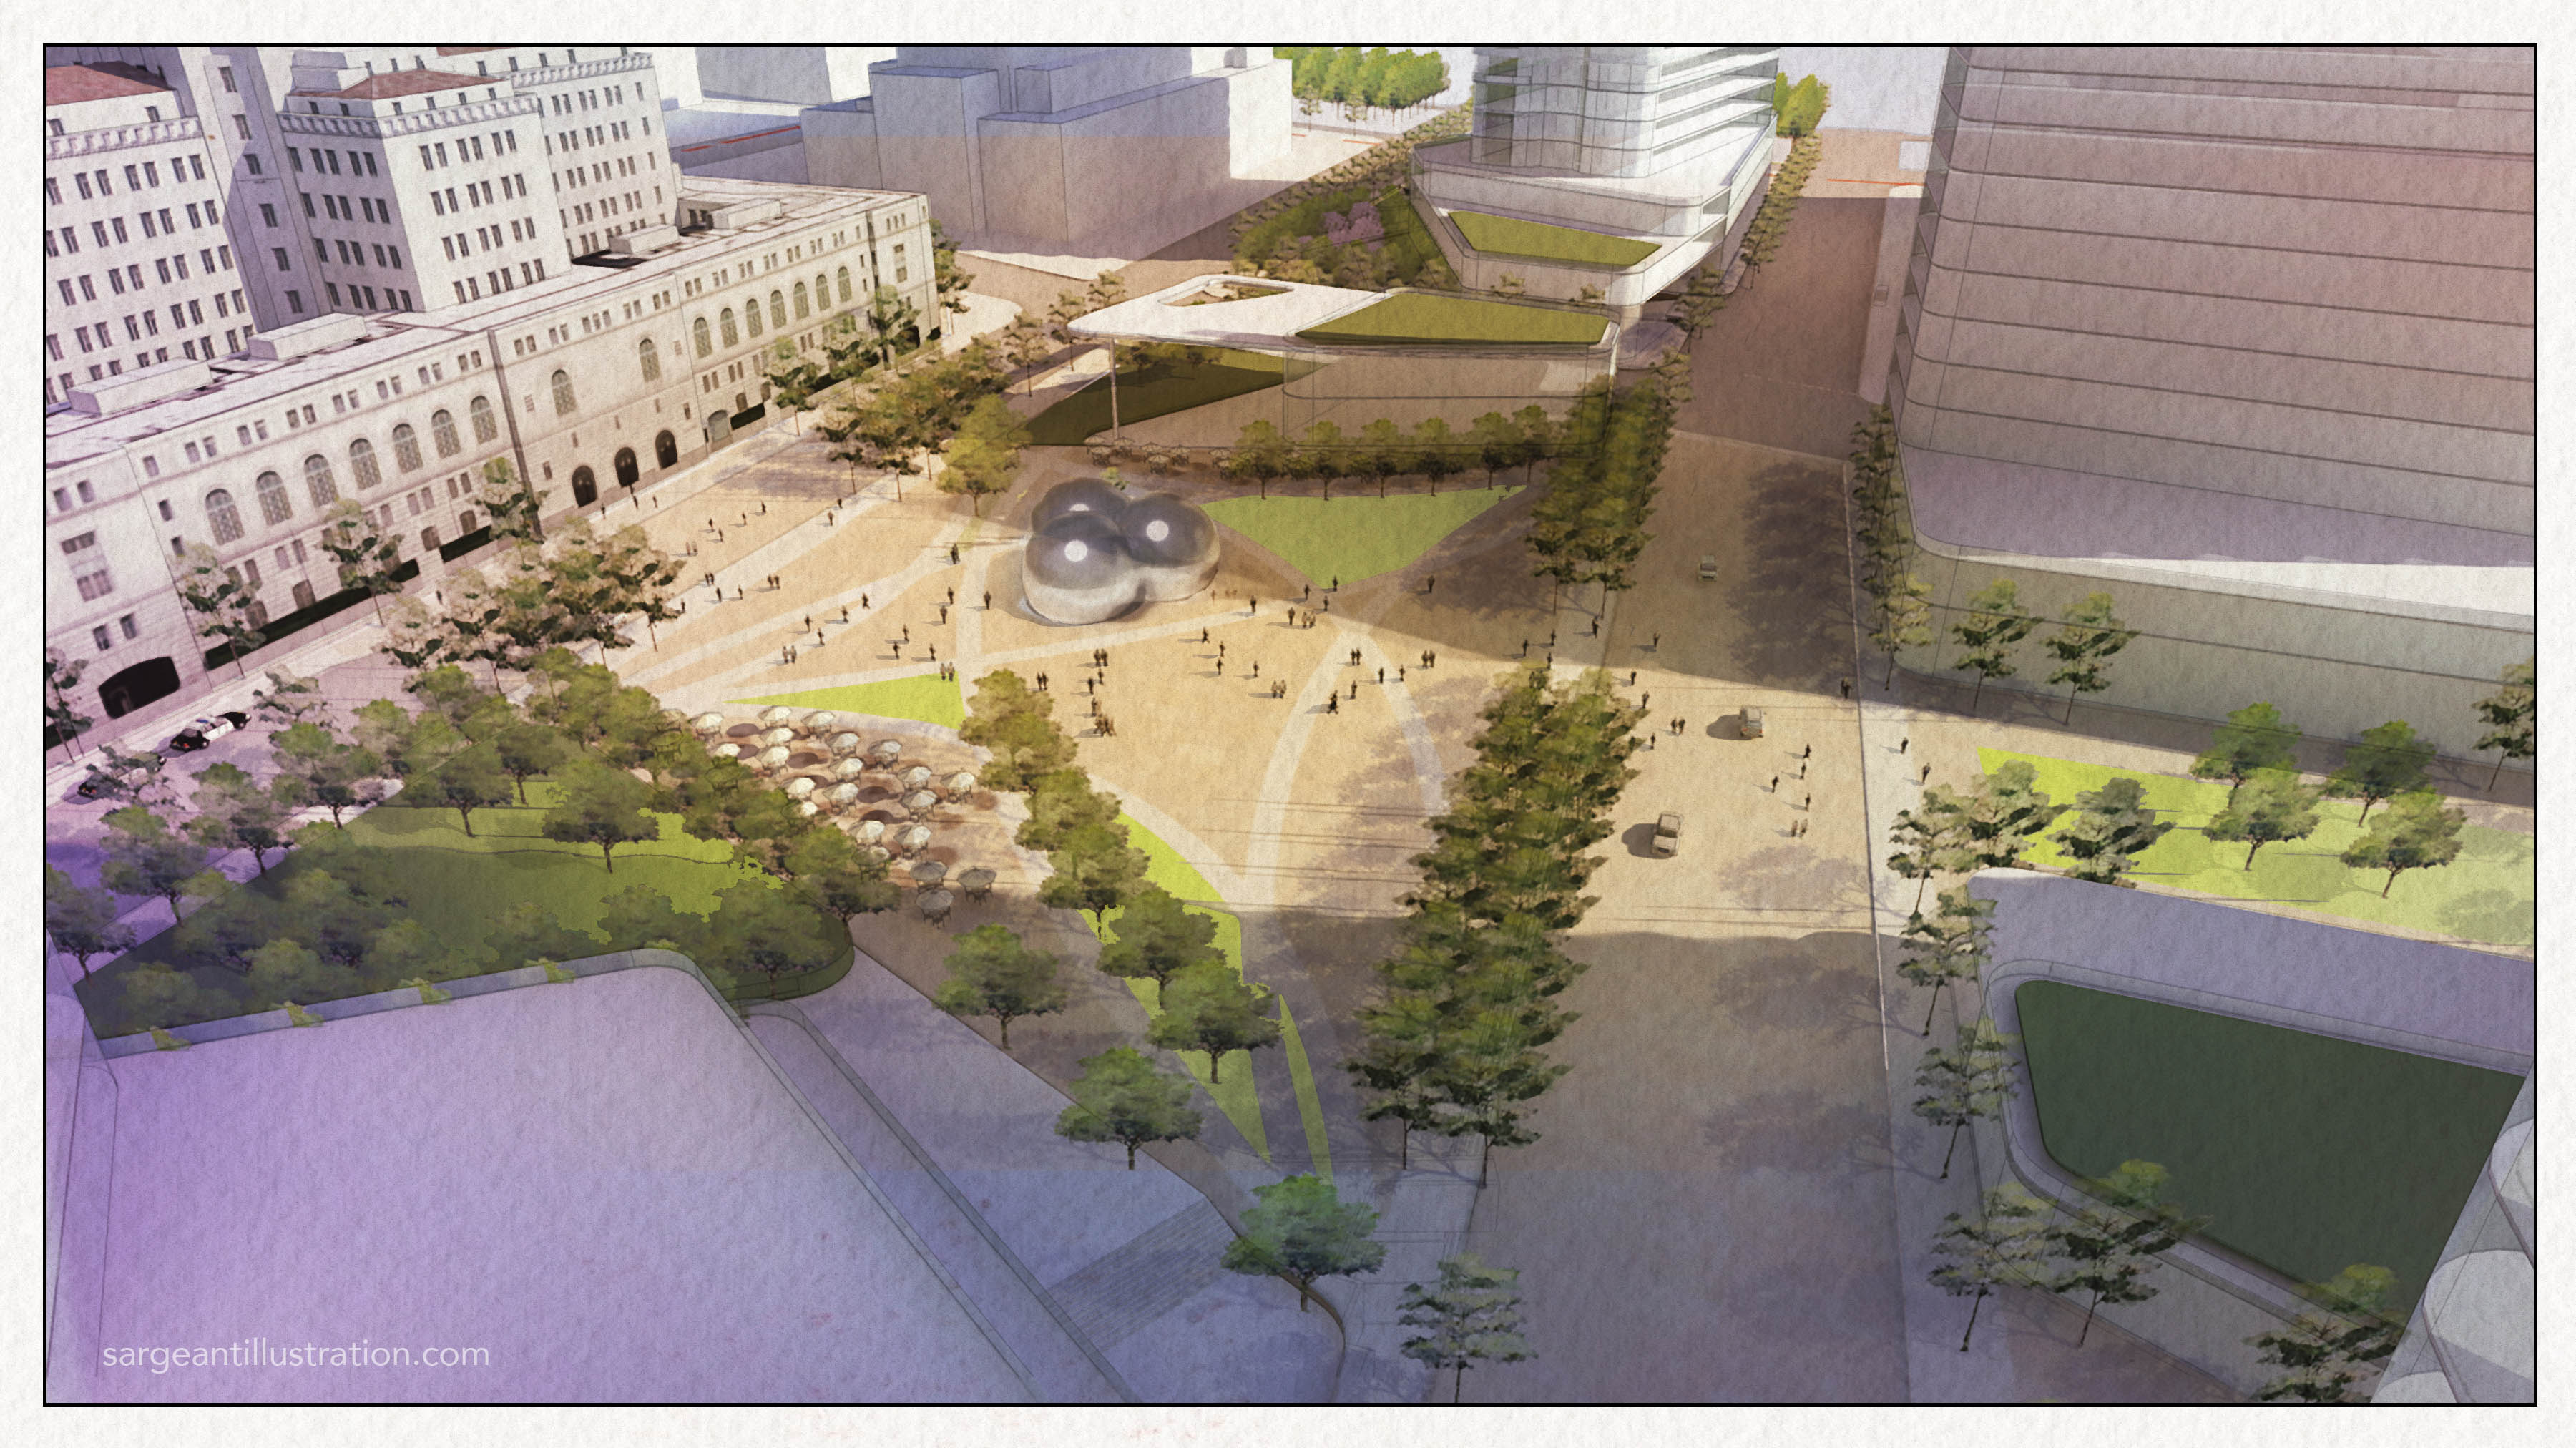
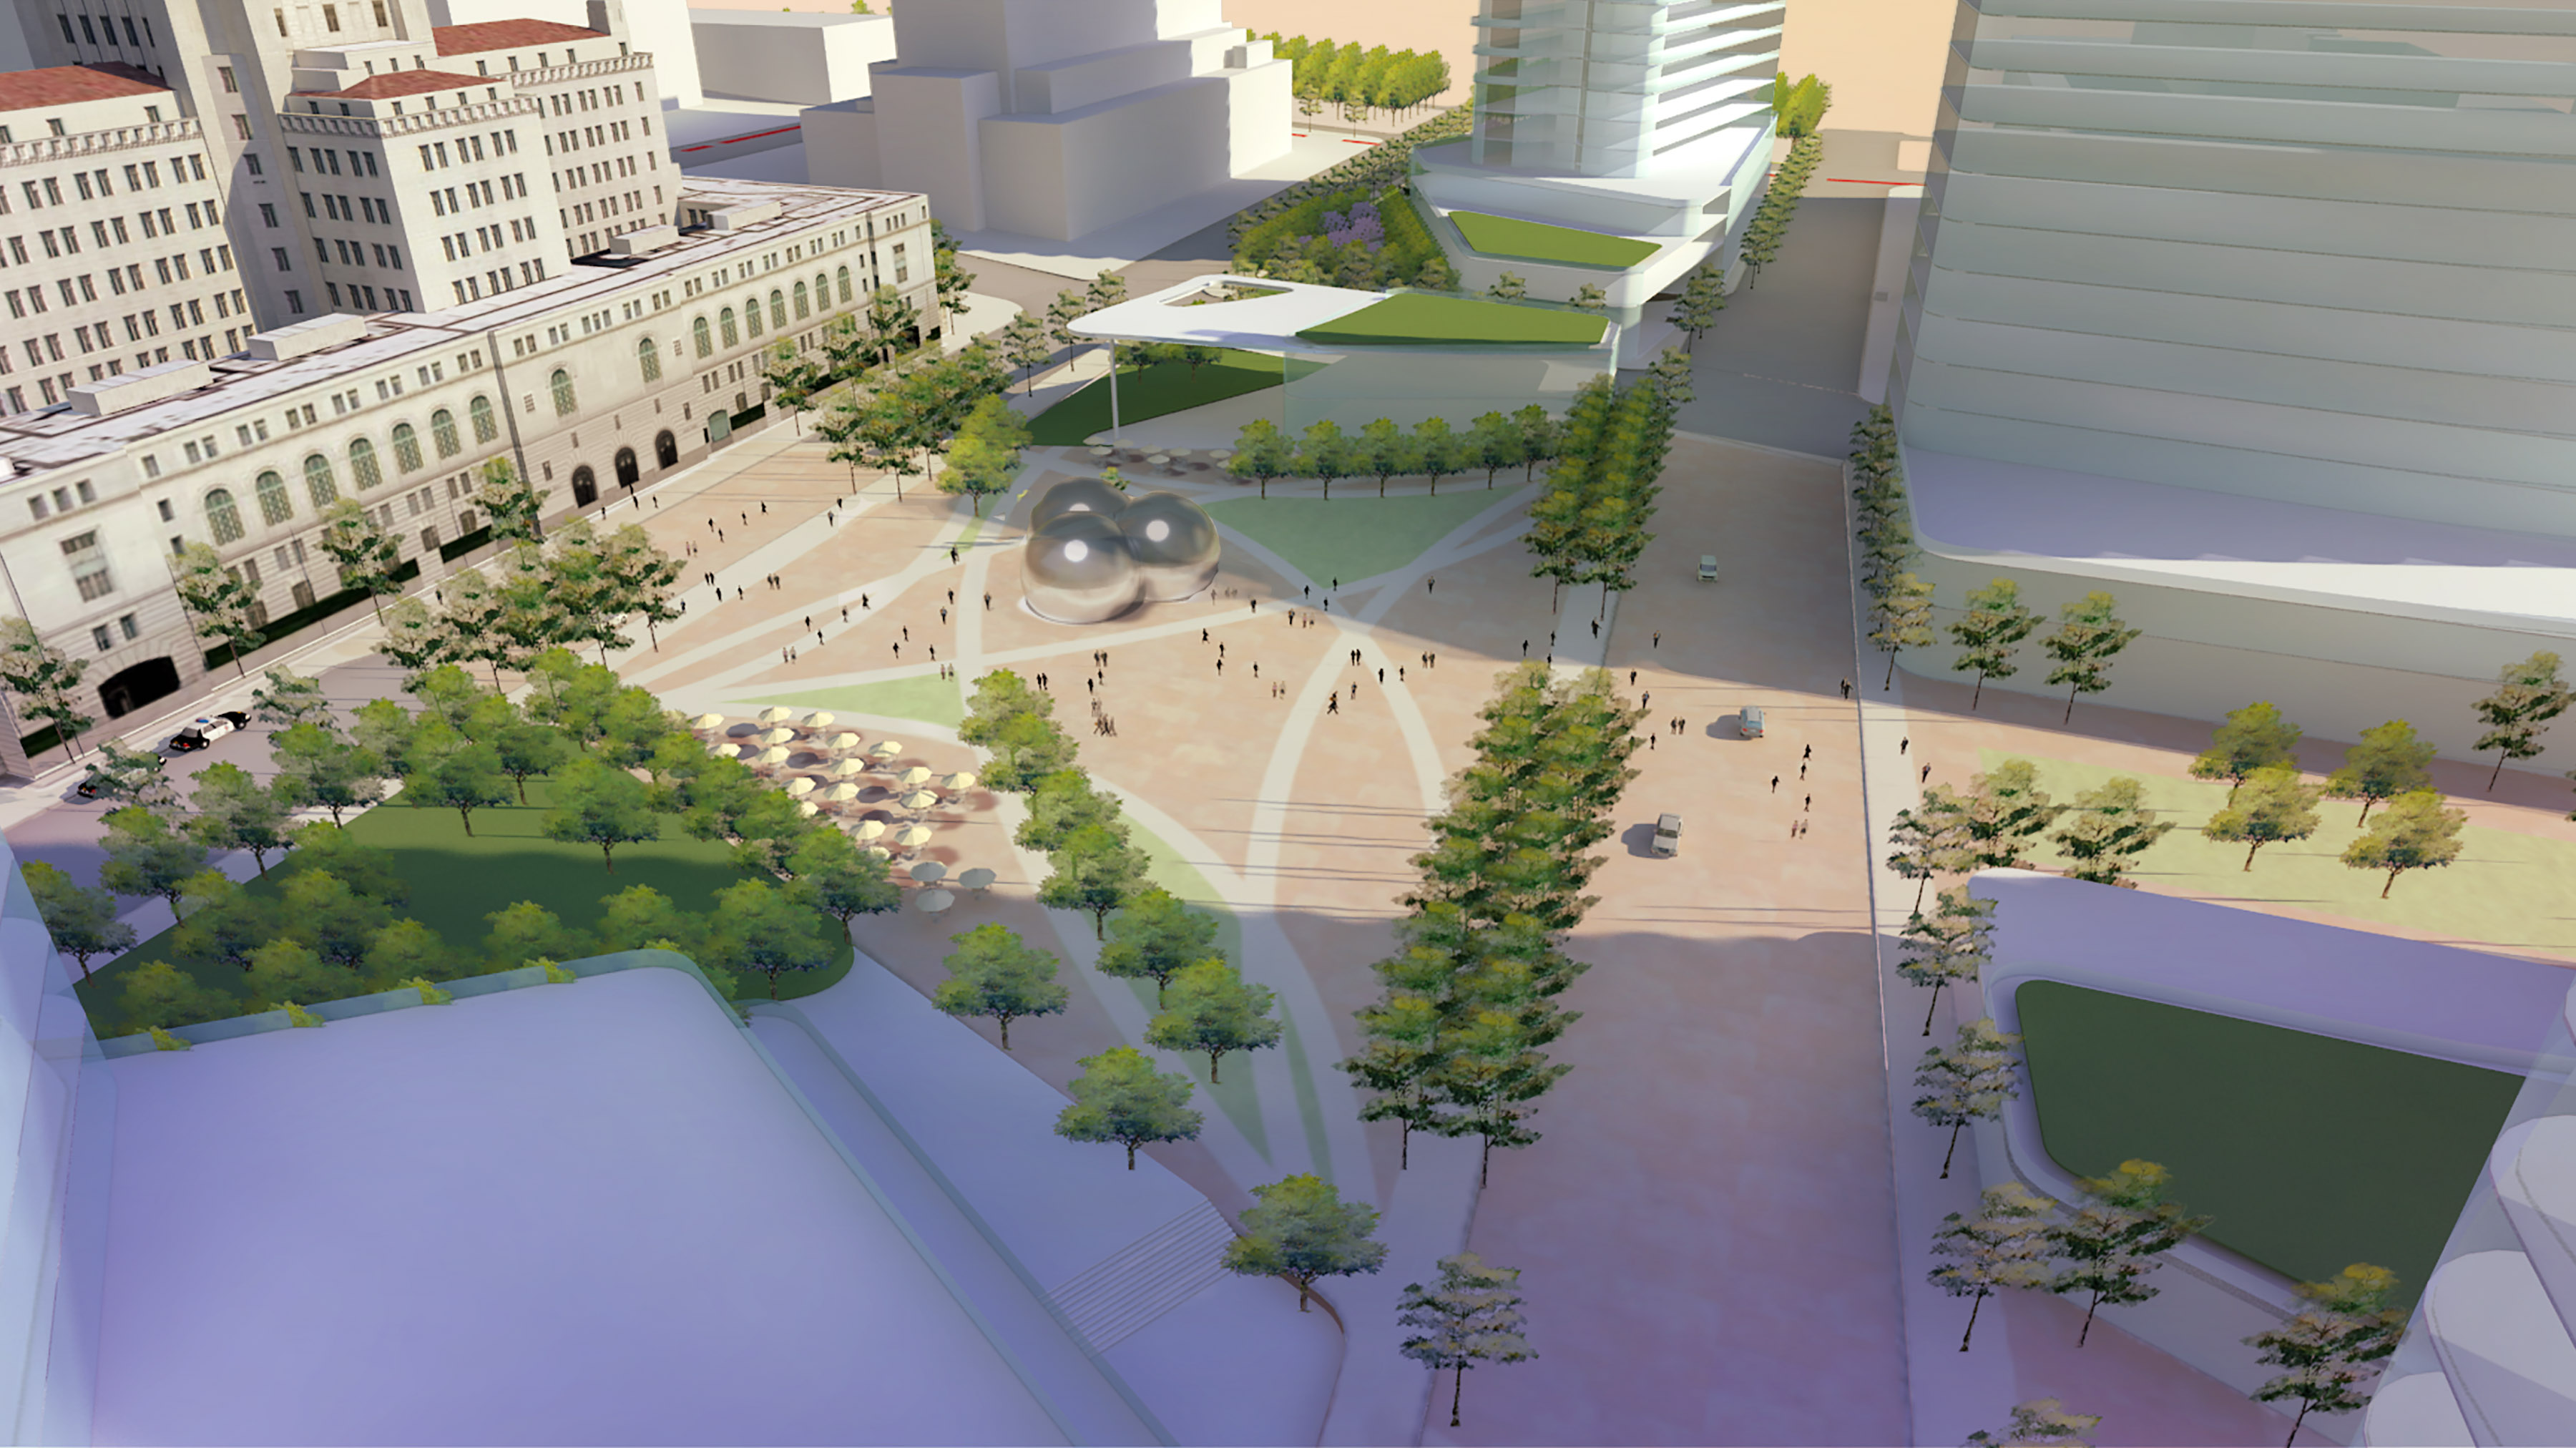
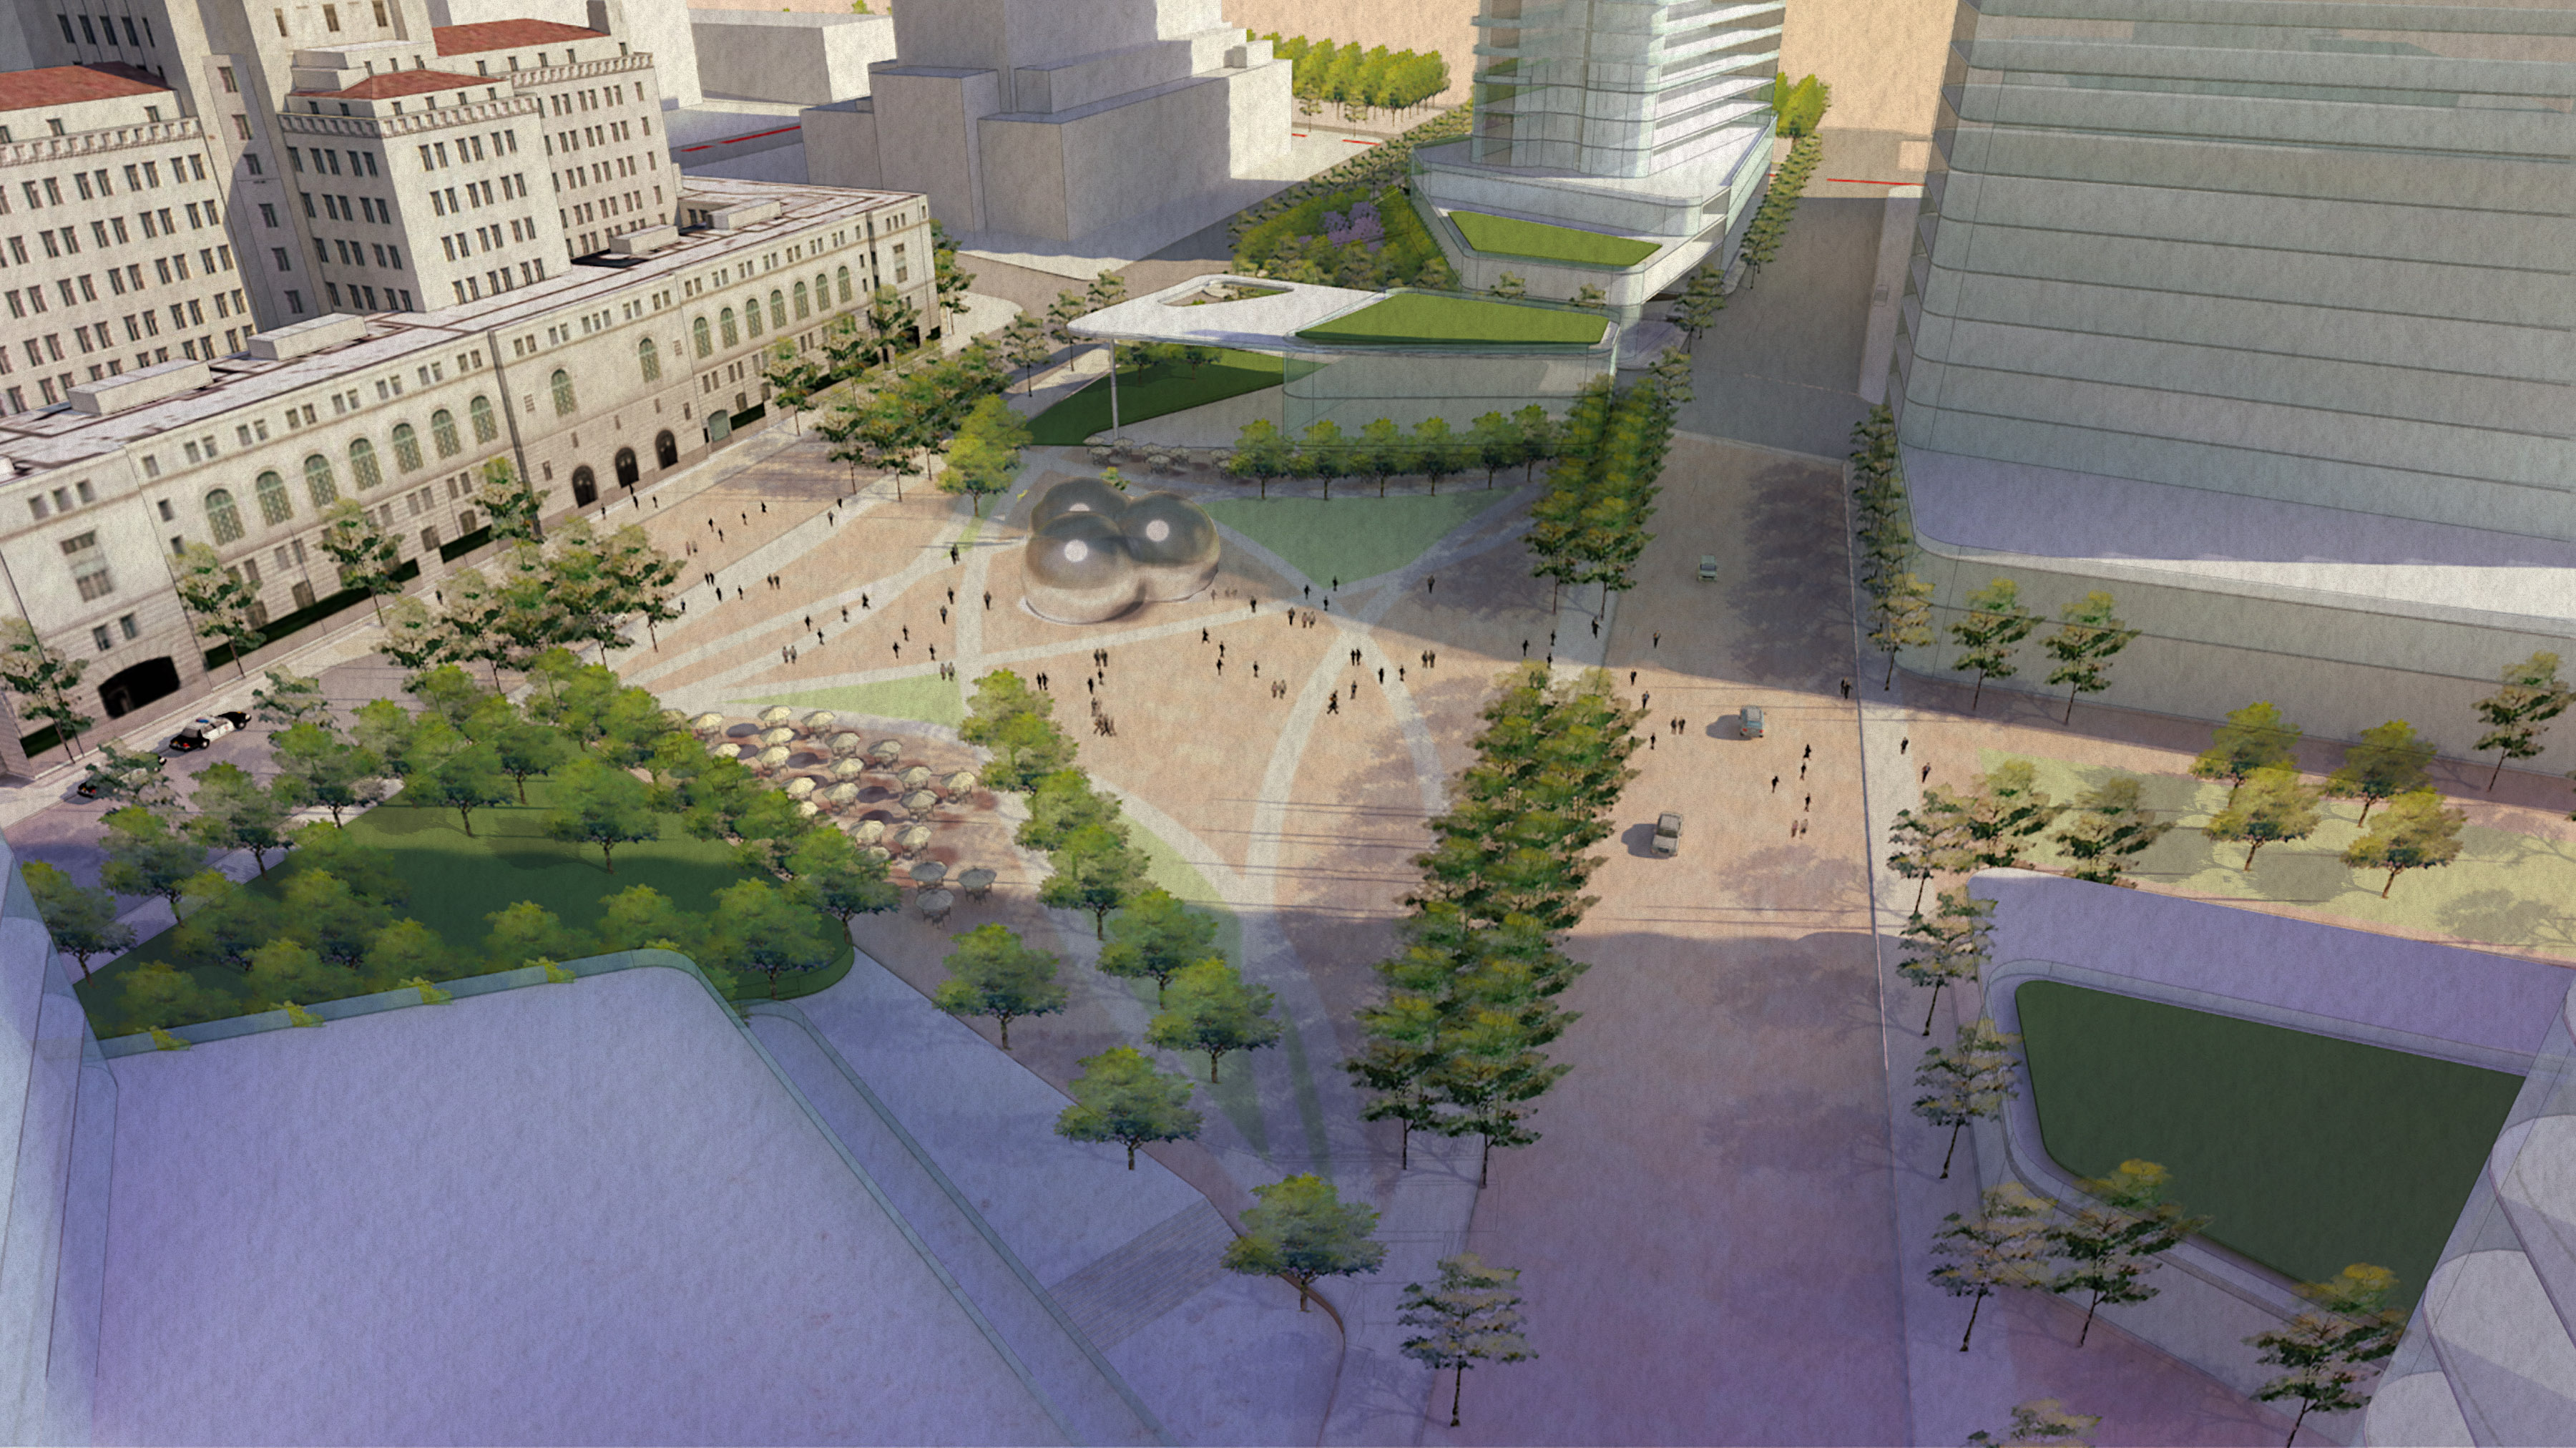
The example below uses a SU model that I created for the Los Angeles Civic Center Master Plan project in case you recognize LA City Hall.
Inspiration
Before getting started with your 3D model, it’s important to find an inspirational image to help guide the process along the way.
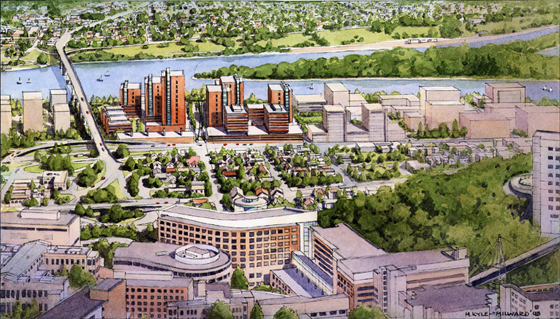
Here’s an aerial from a traditional watercolor artist I’ve had the pleasure of working with named Martin Kyle-Milward from Portland, OR. Traditional watercolor renderings share common traits that we can try to replicate in the computer. In this example, we’ll look at 4 key features for inspiration:
- background color wash
- landscape/tree variation
- level of architectural detail
- line weights
Getting started
The layers and files used for post are listed below and are available for download to follow along:
- Watercolor paper texture
- Color wash (created w/ Photoshop)
- Watercolor tree PNGS (found online, used as components in SU)
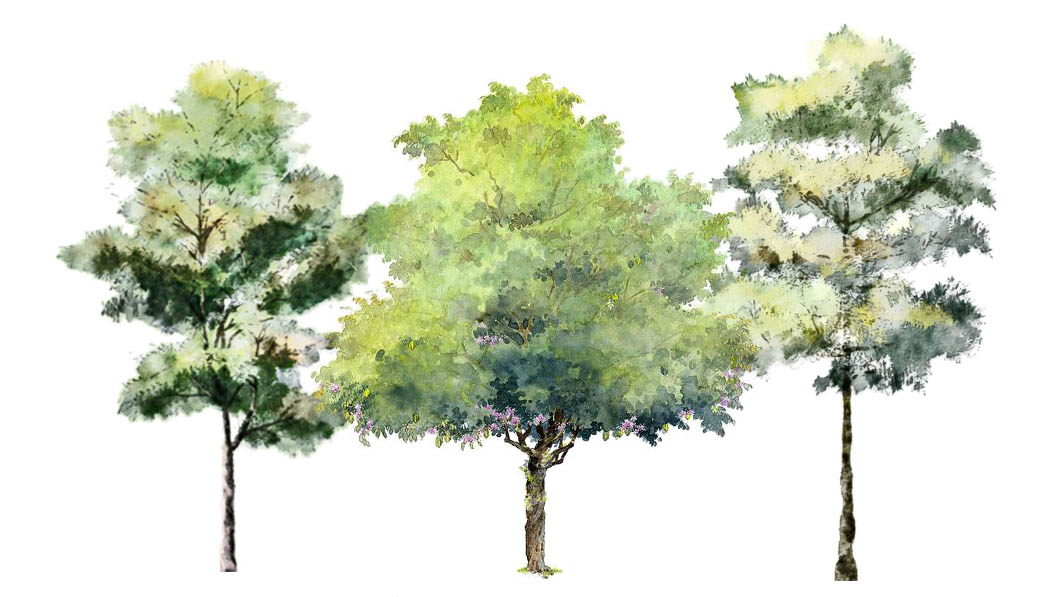


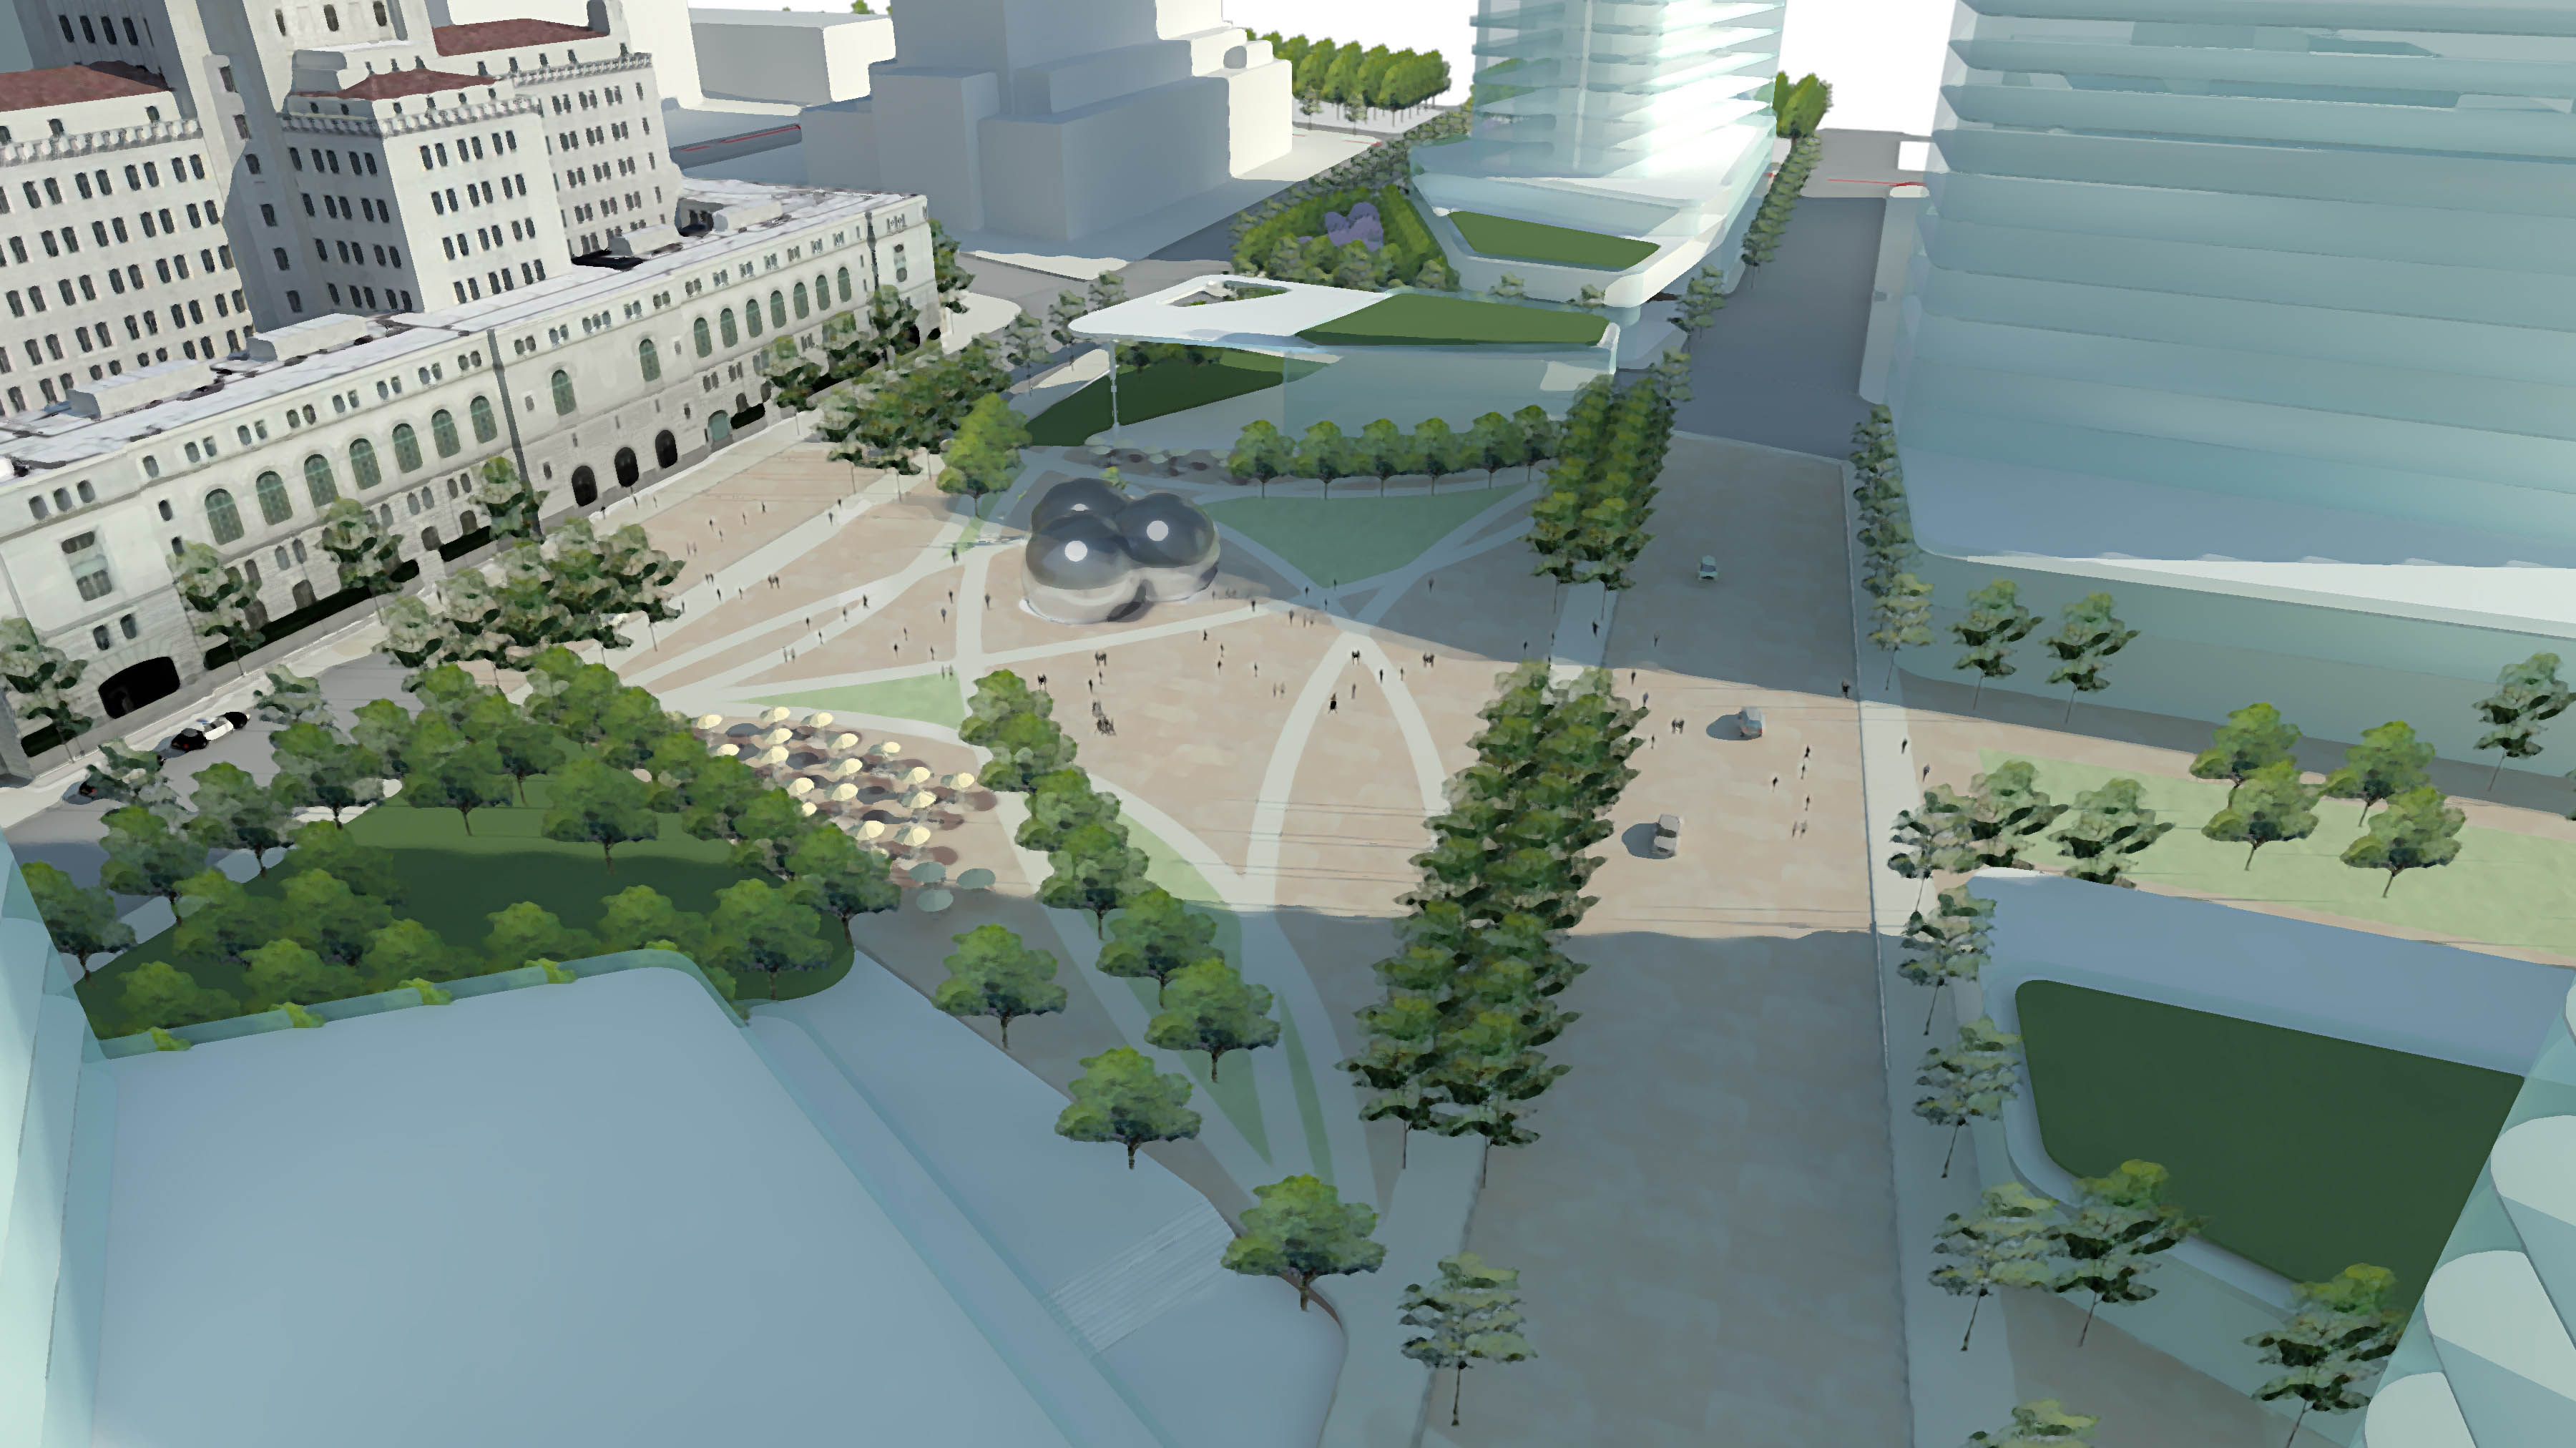
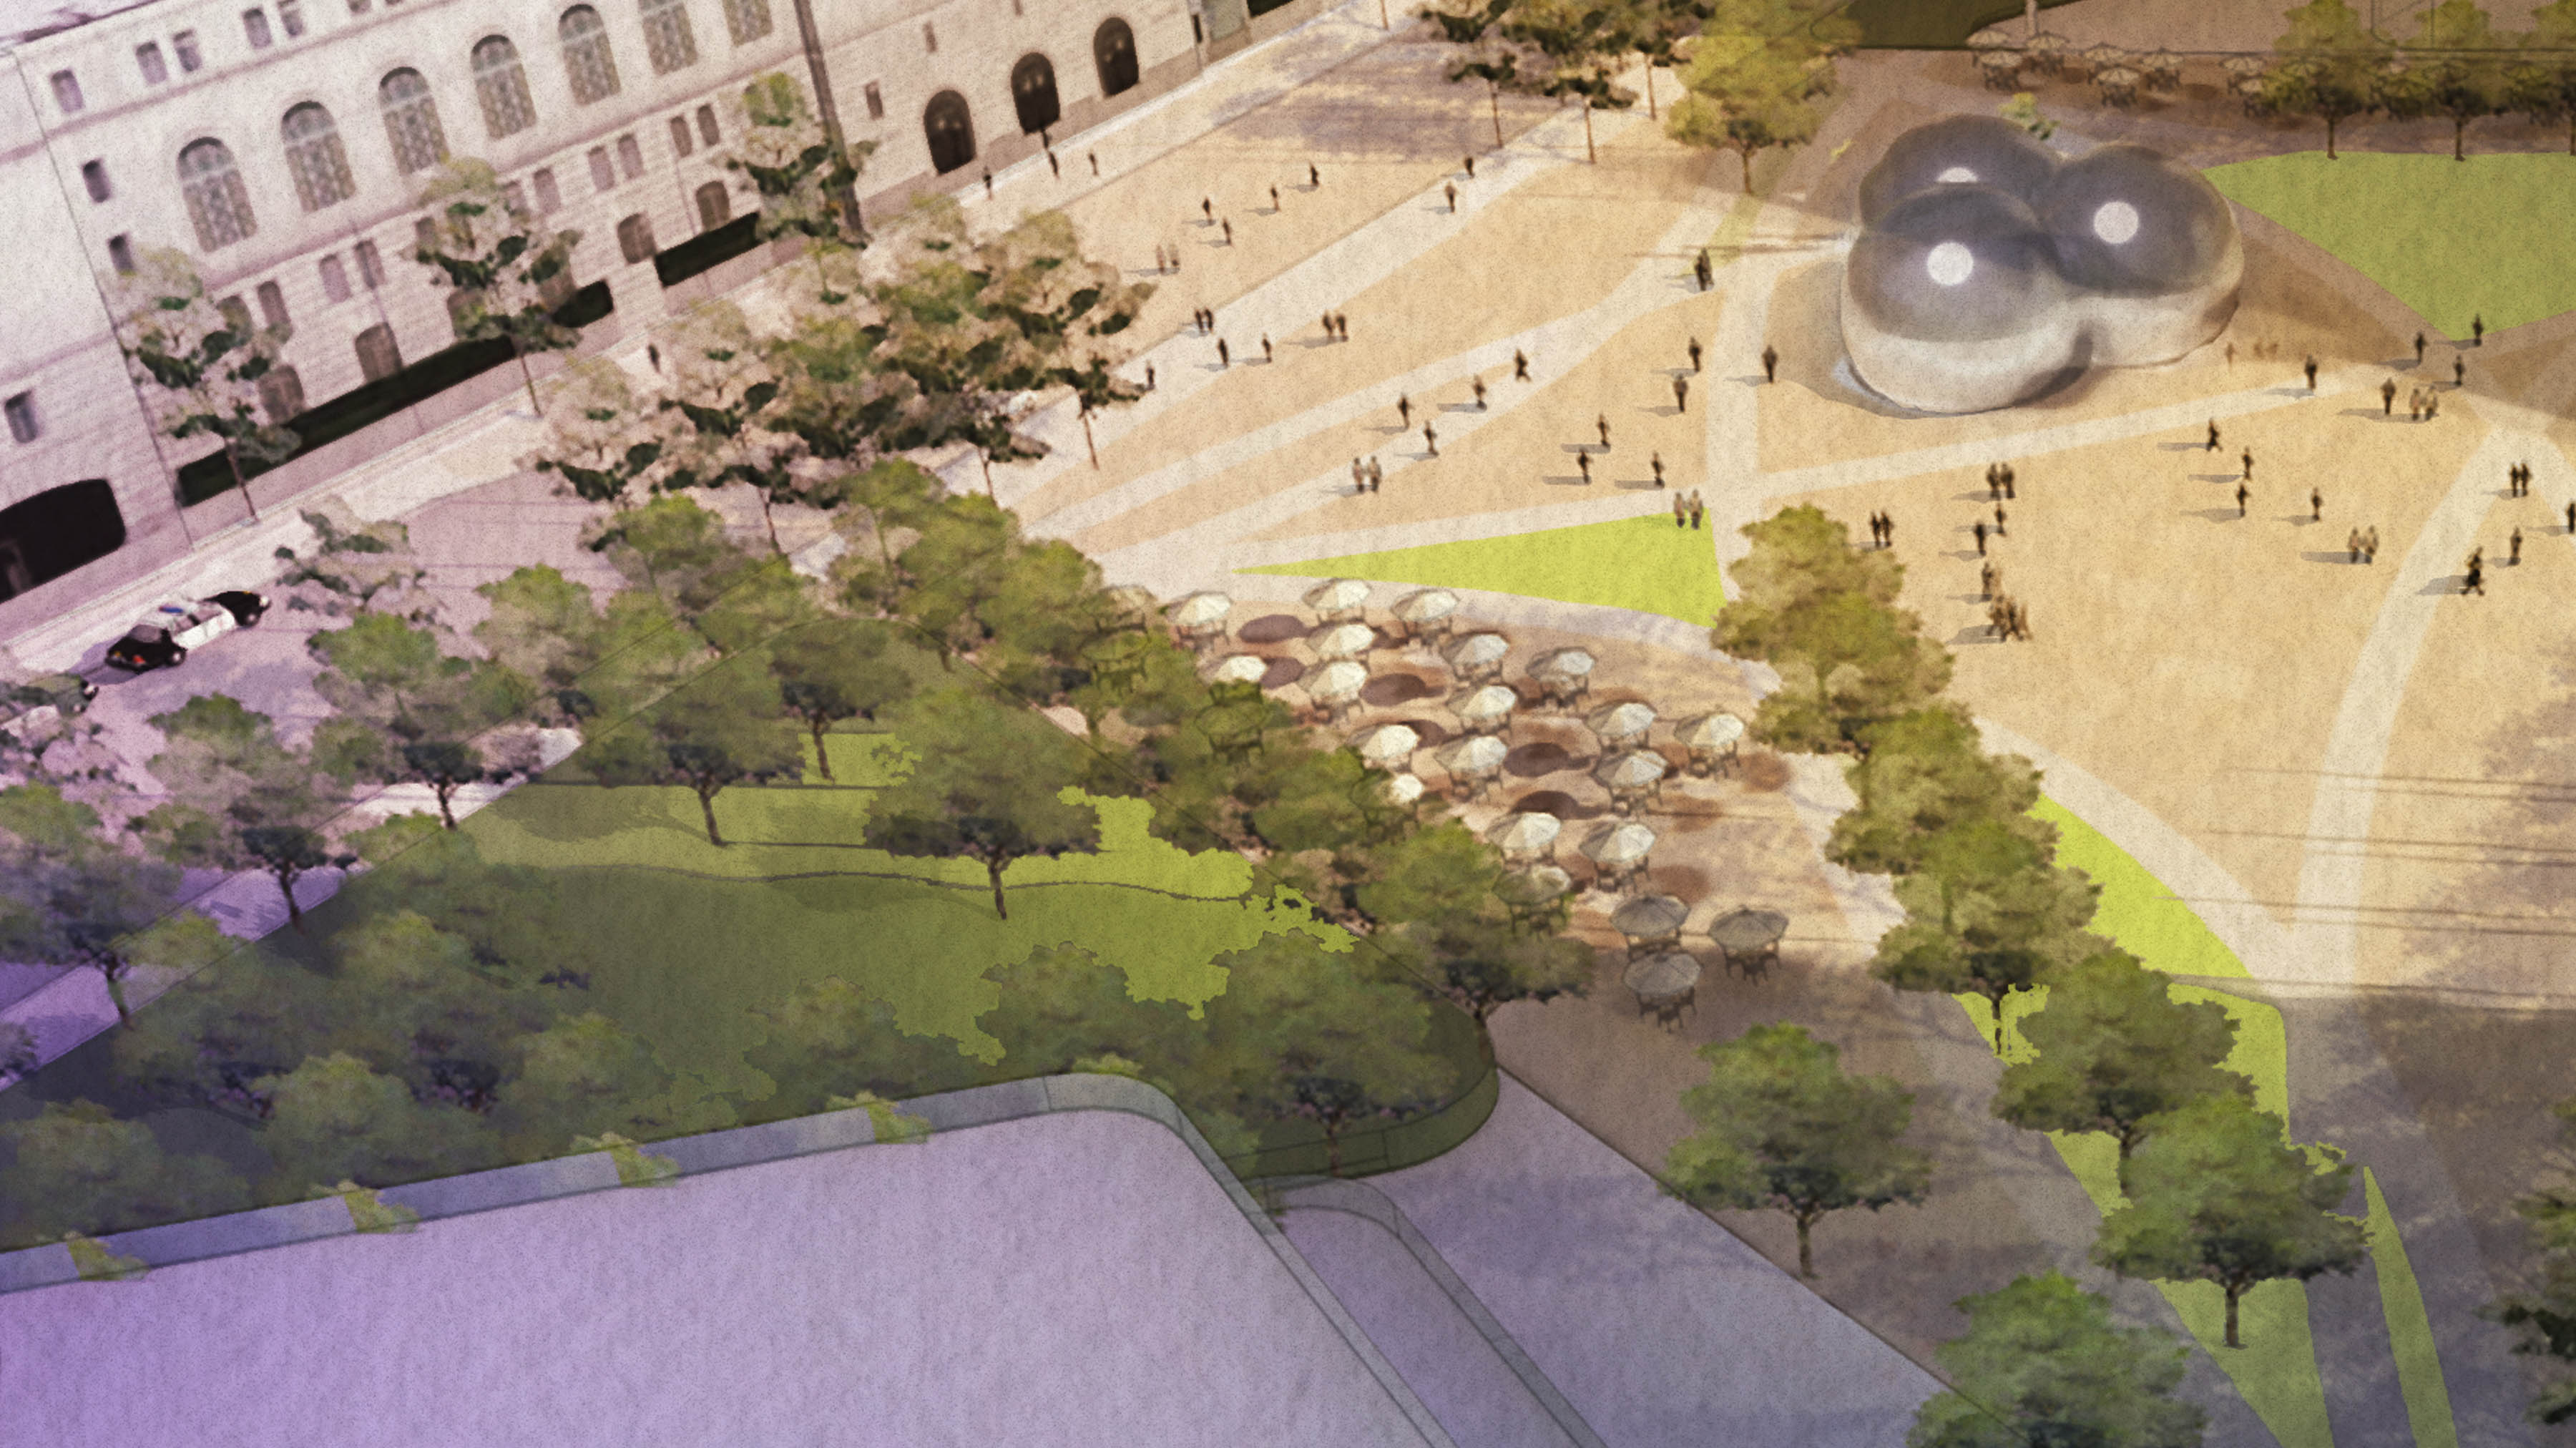
Here is what the model looks like with watercolor trees and illustrative plan used as ground plane prior to rendering:
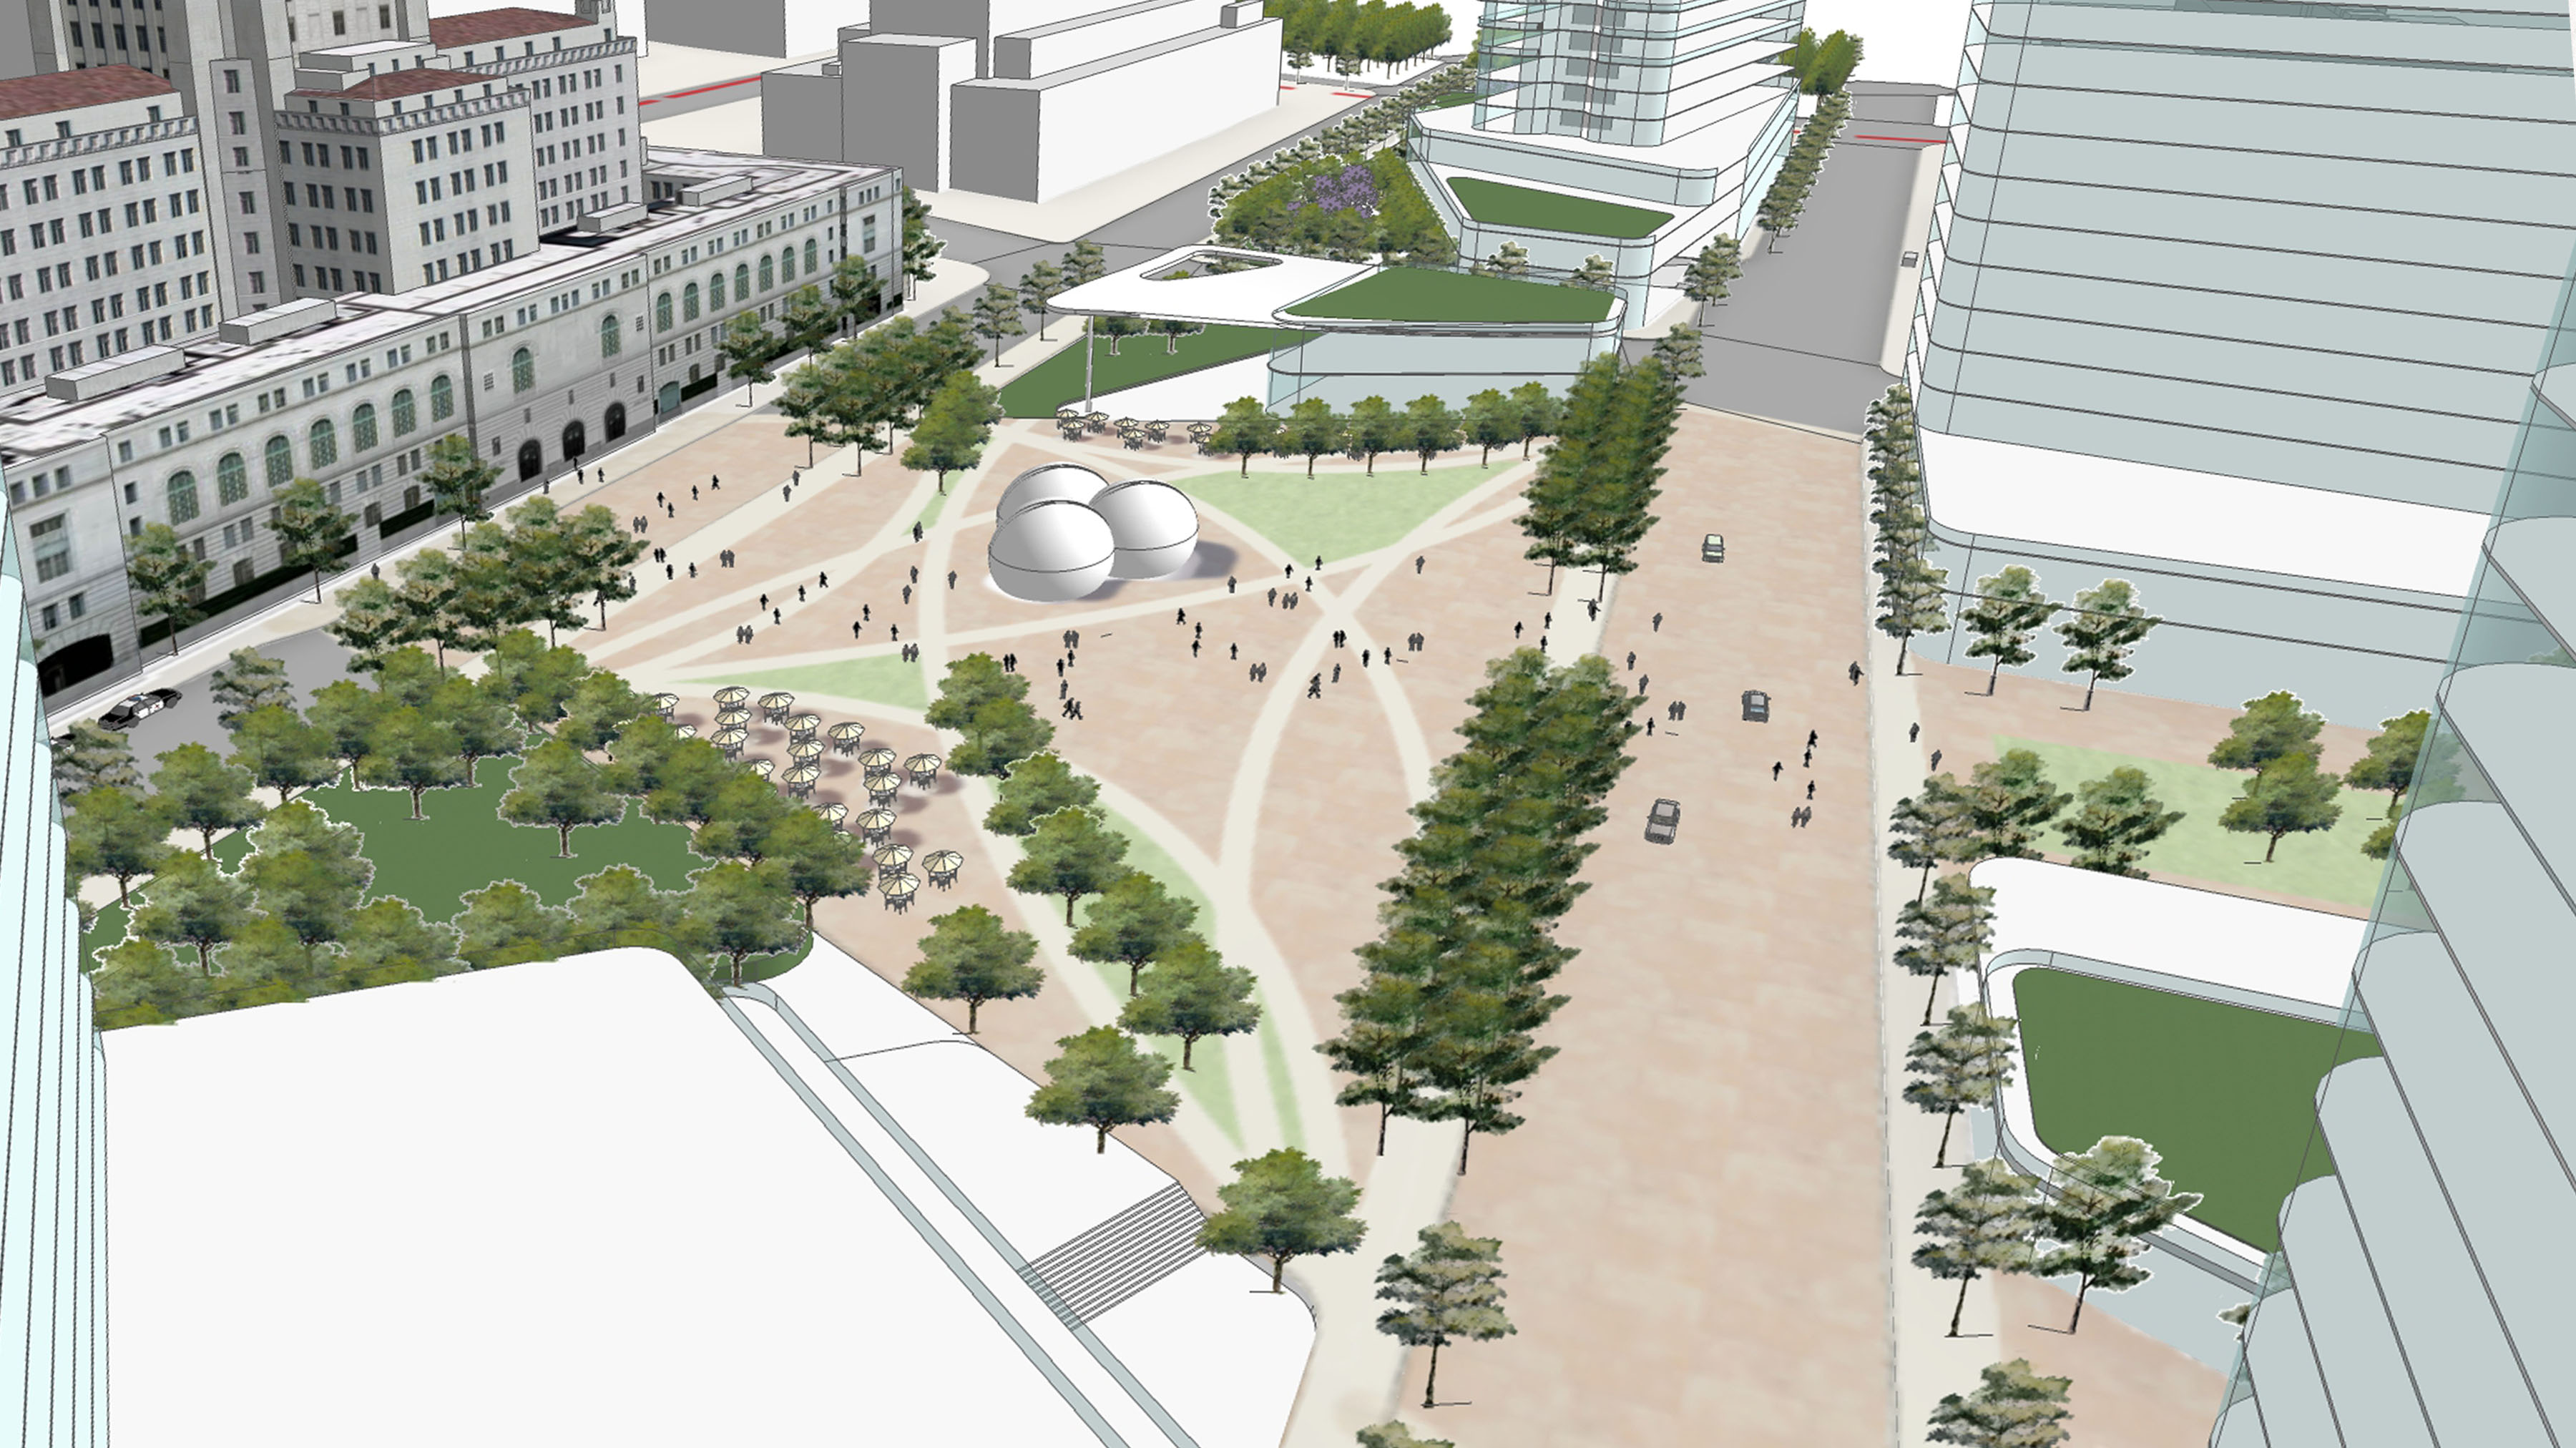
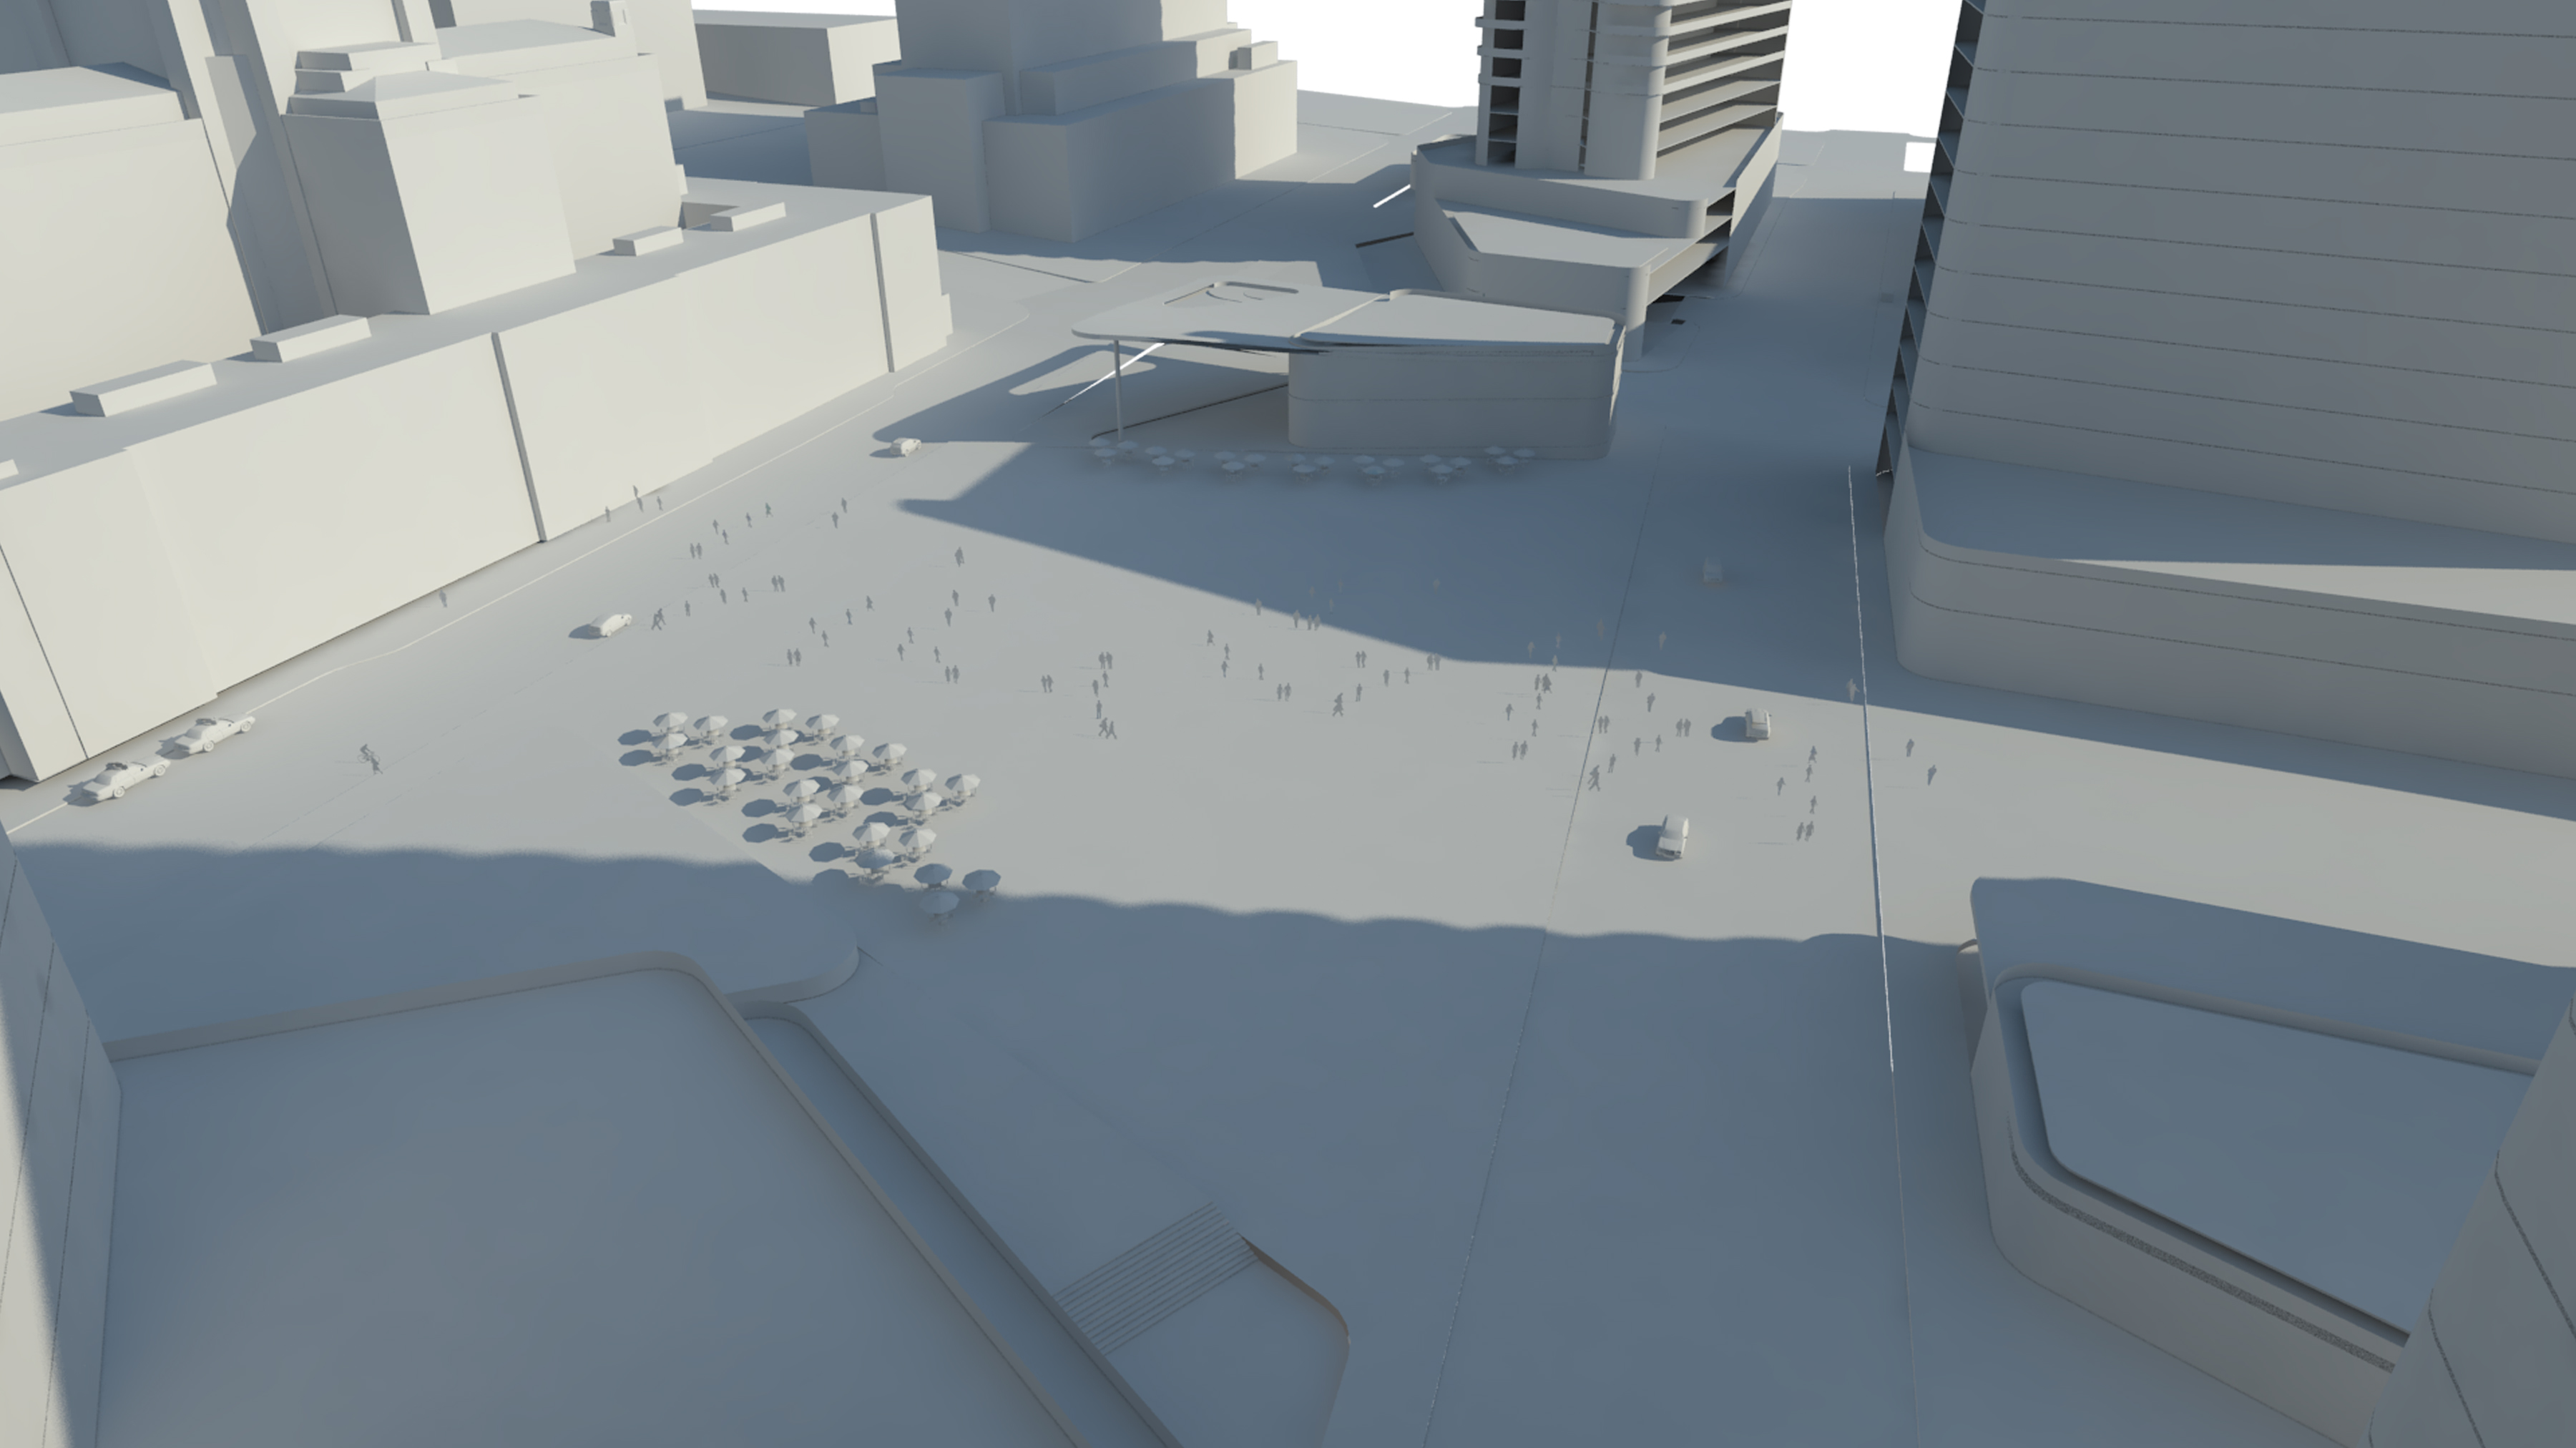
Export a VRAY render with default lights and settings.

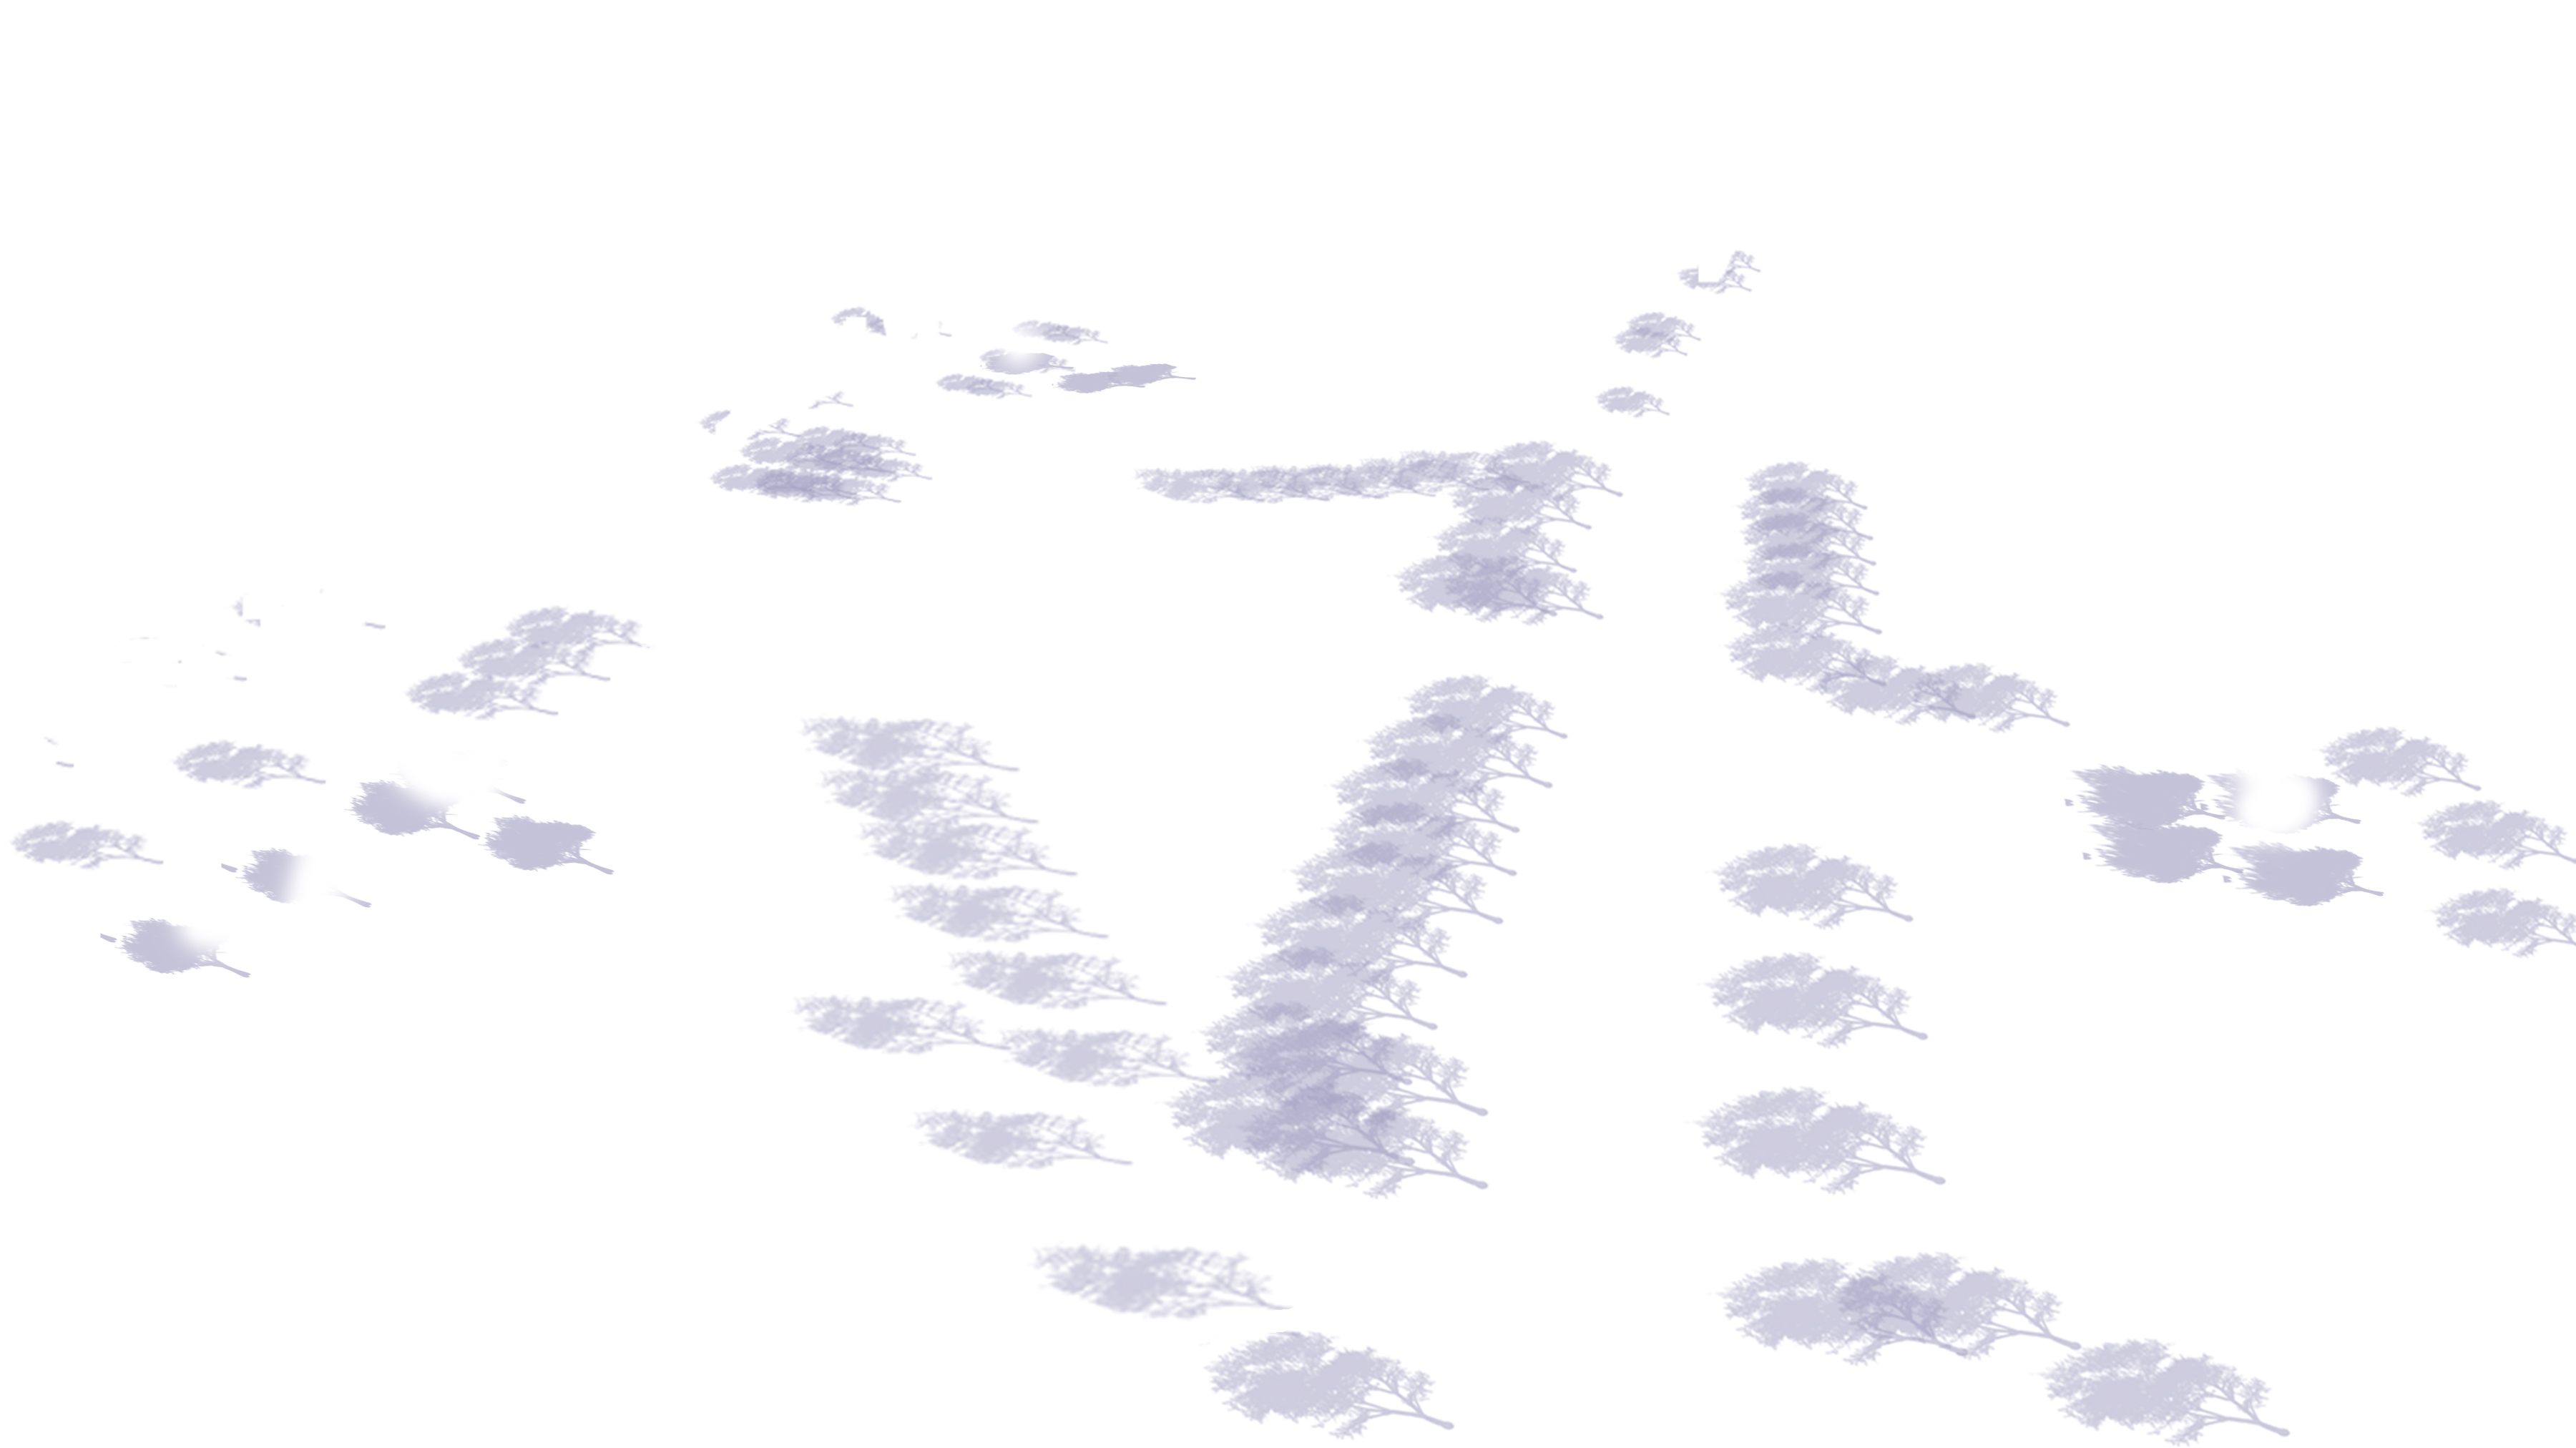
Turn the tree layers off and export a clay render.
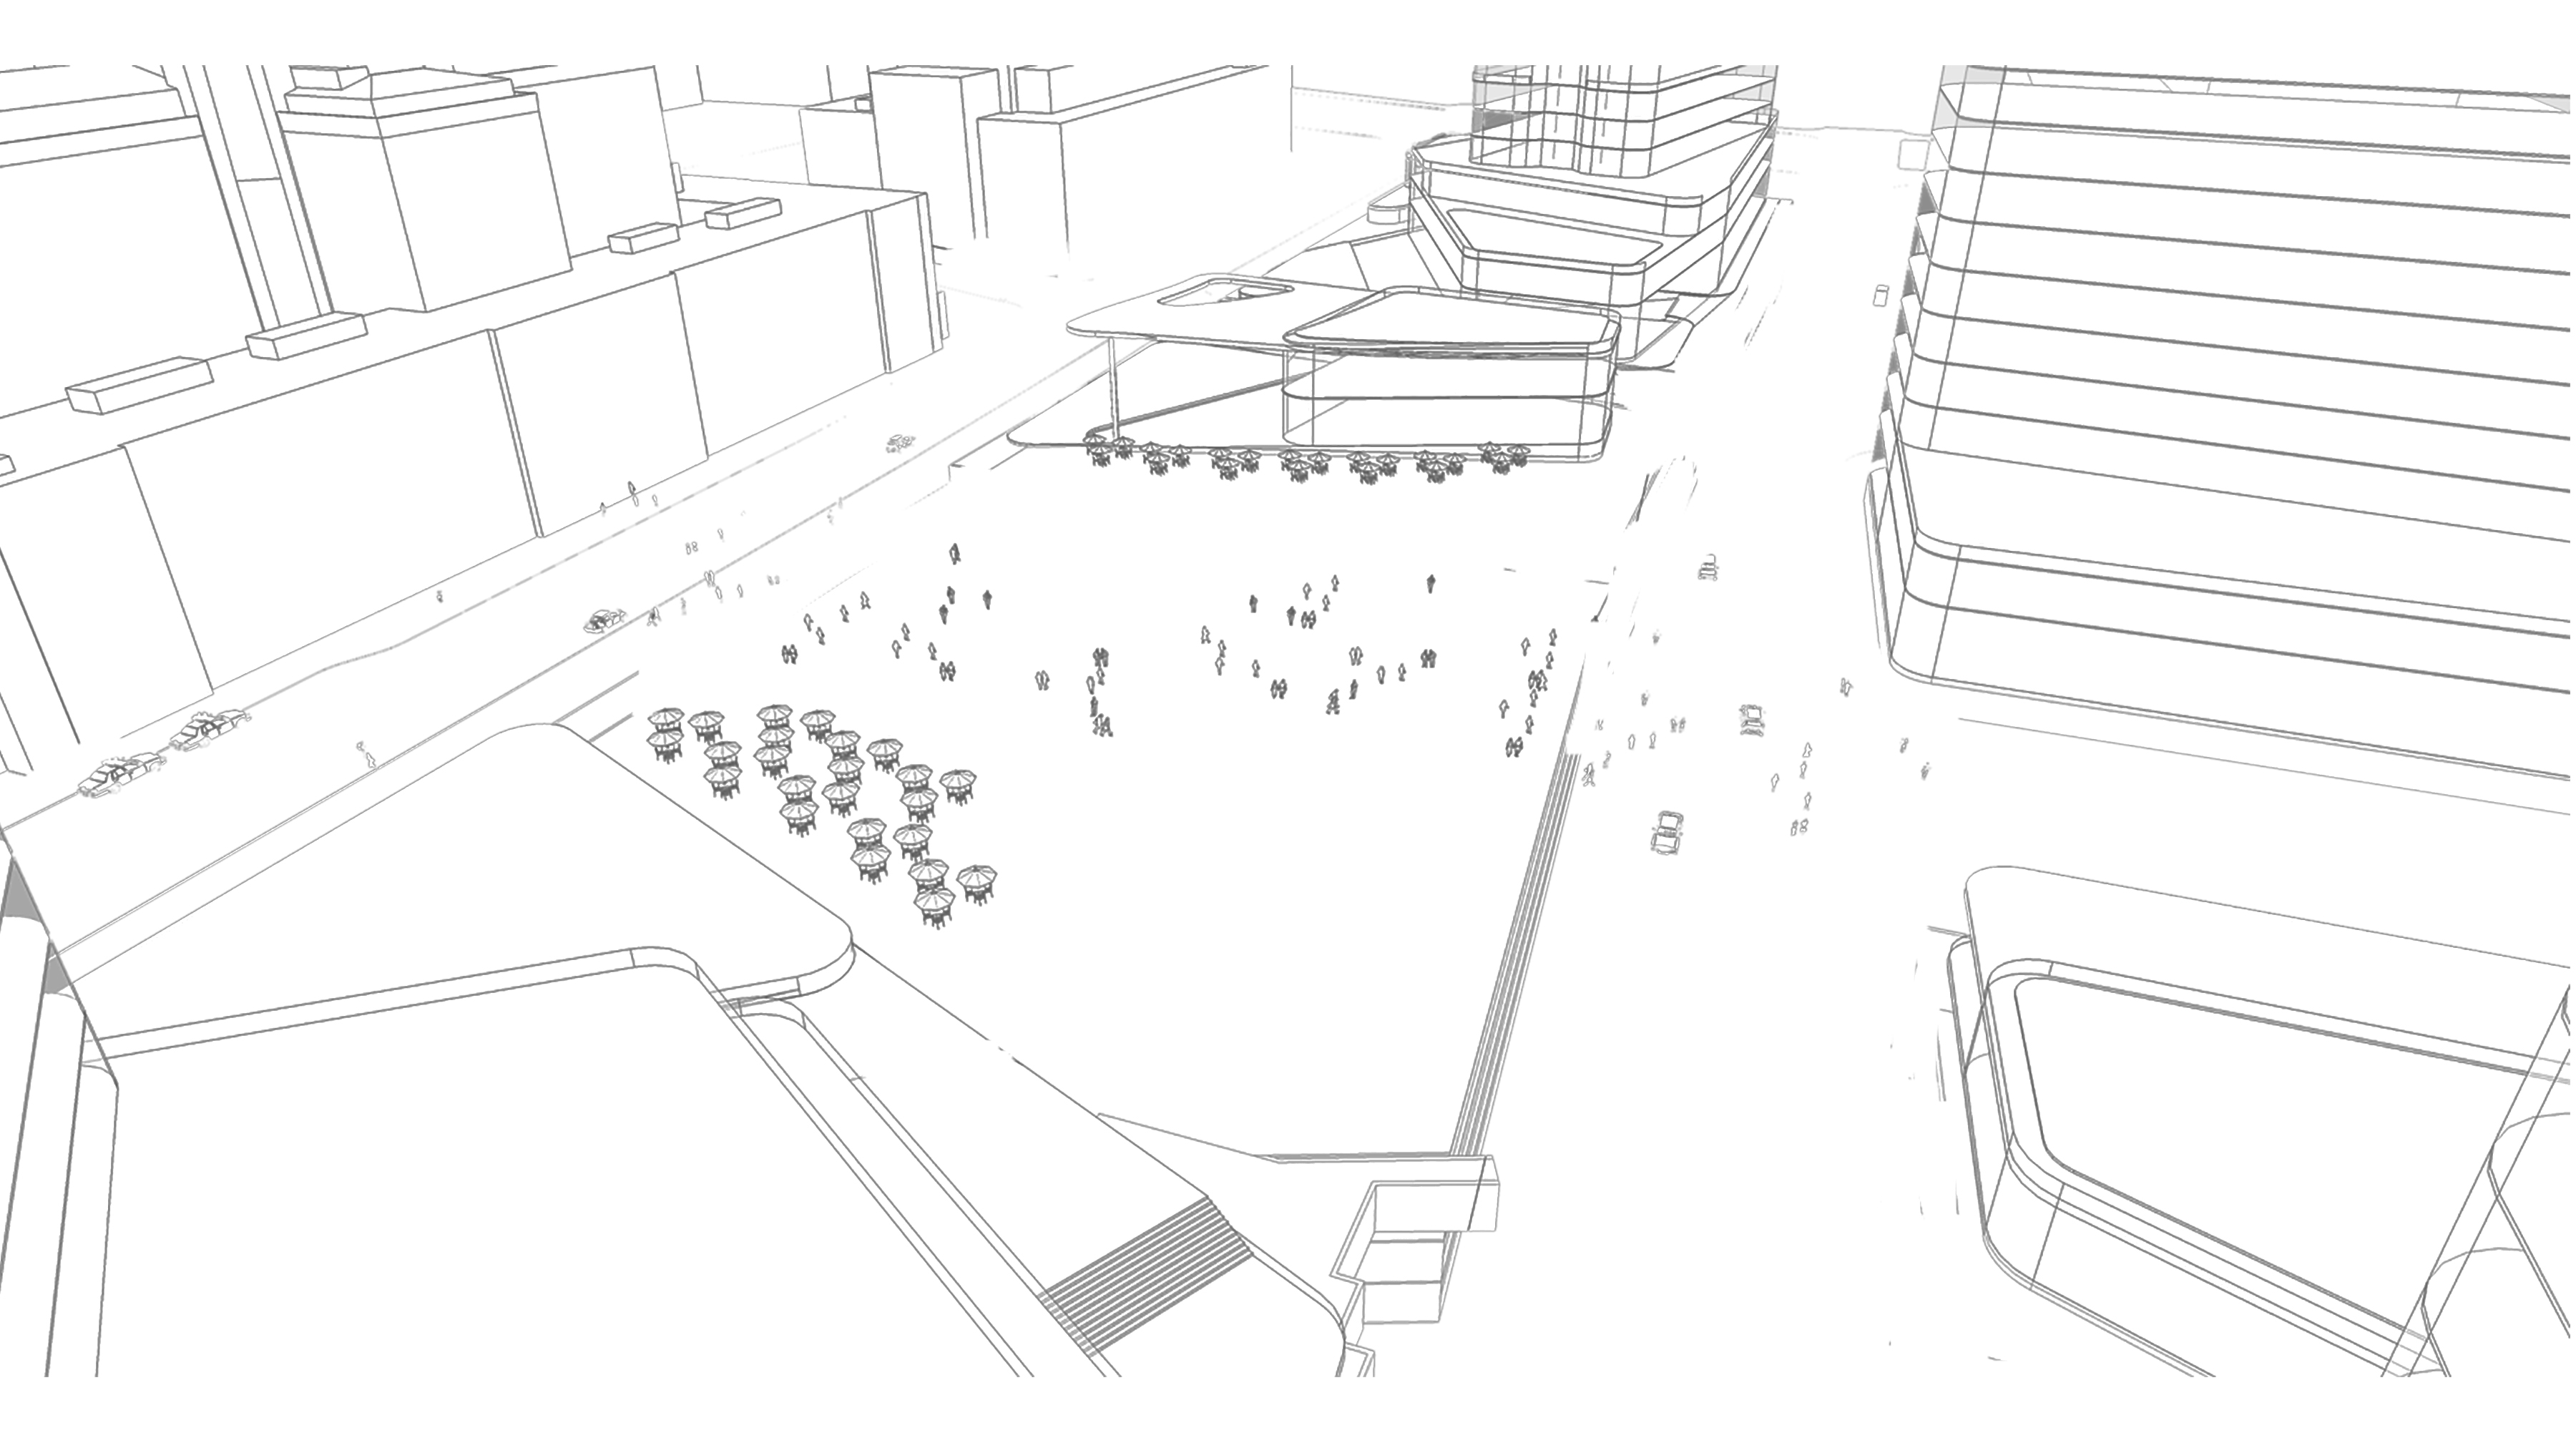
Export PNG of view as “hidden line” style from SU. (NOTE: Match VRAY view dimensions though some distorting may be necessary to get everything to line up) exactly.
Open all exports and source files in Photoshop and layer together.
Set gradient wash layer to overlay blend mode. Play around with transparency. Depending on how saturated you want your wash to be, anything between 30 and 70% could work. (NOTE: If you want to boost a particular color, do your gradients on separate layers so you can control transparency separately).
Select the VRAY clay render layer and adjust the levels to blow out the model detail leaving just colored shadows remaining.
Adjust the hue-saturation to give shadows a purple-blueish tone. This will give added color contrast to our shadows that would otherwise be lacking in just a VRAY render.
Set opacity around 40%.
Notice below how the shadows pop compared to without this layer.
Add any additional shadow details you want at this point. Since my trees were 2D in SU, the sun angle did not provide a nice shadow so I just stamped a few using a tree brush and set layer style to multiply.
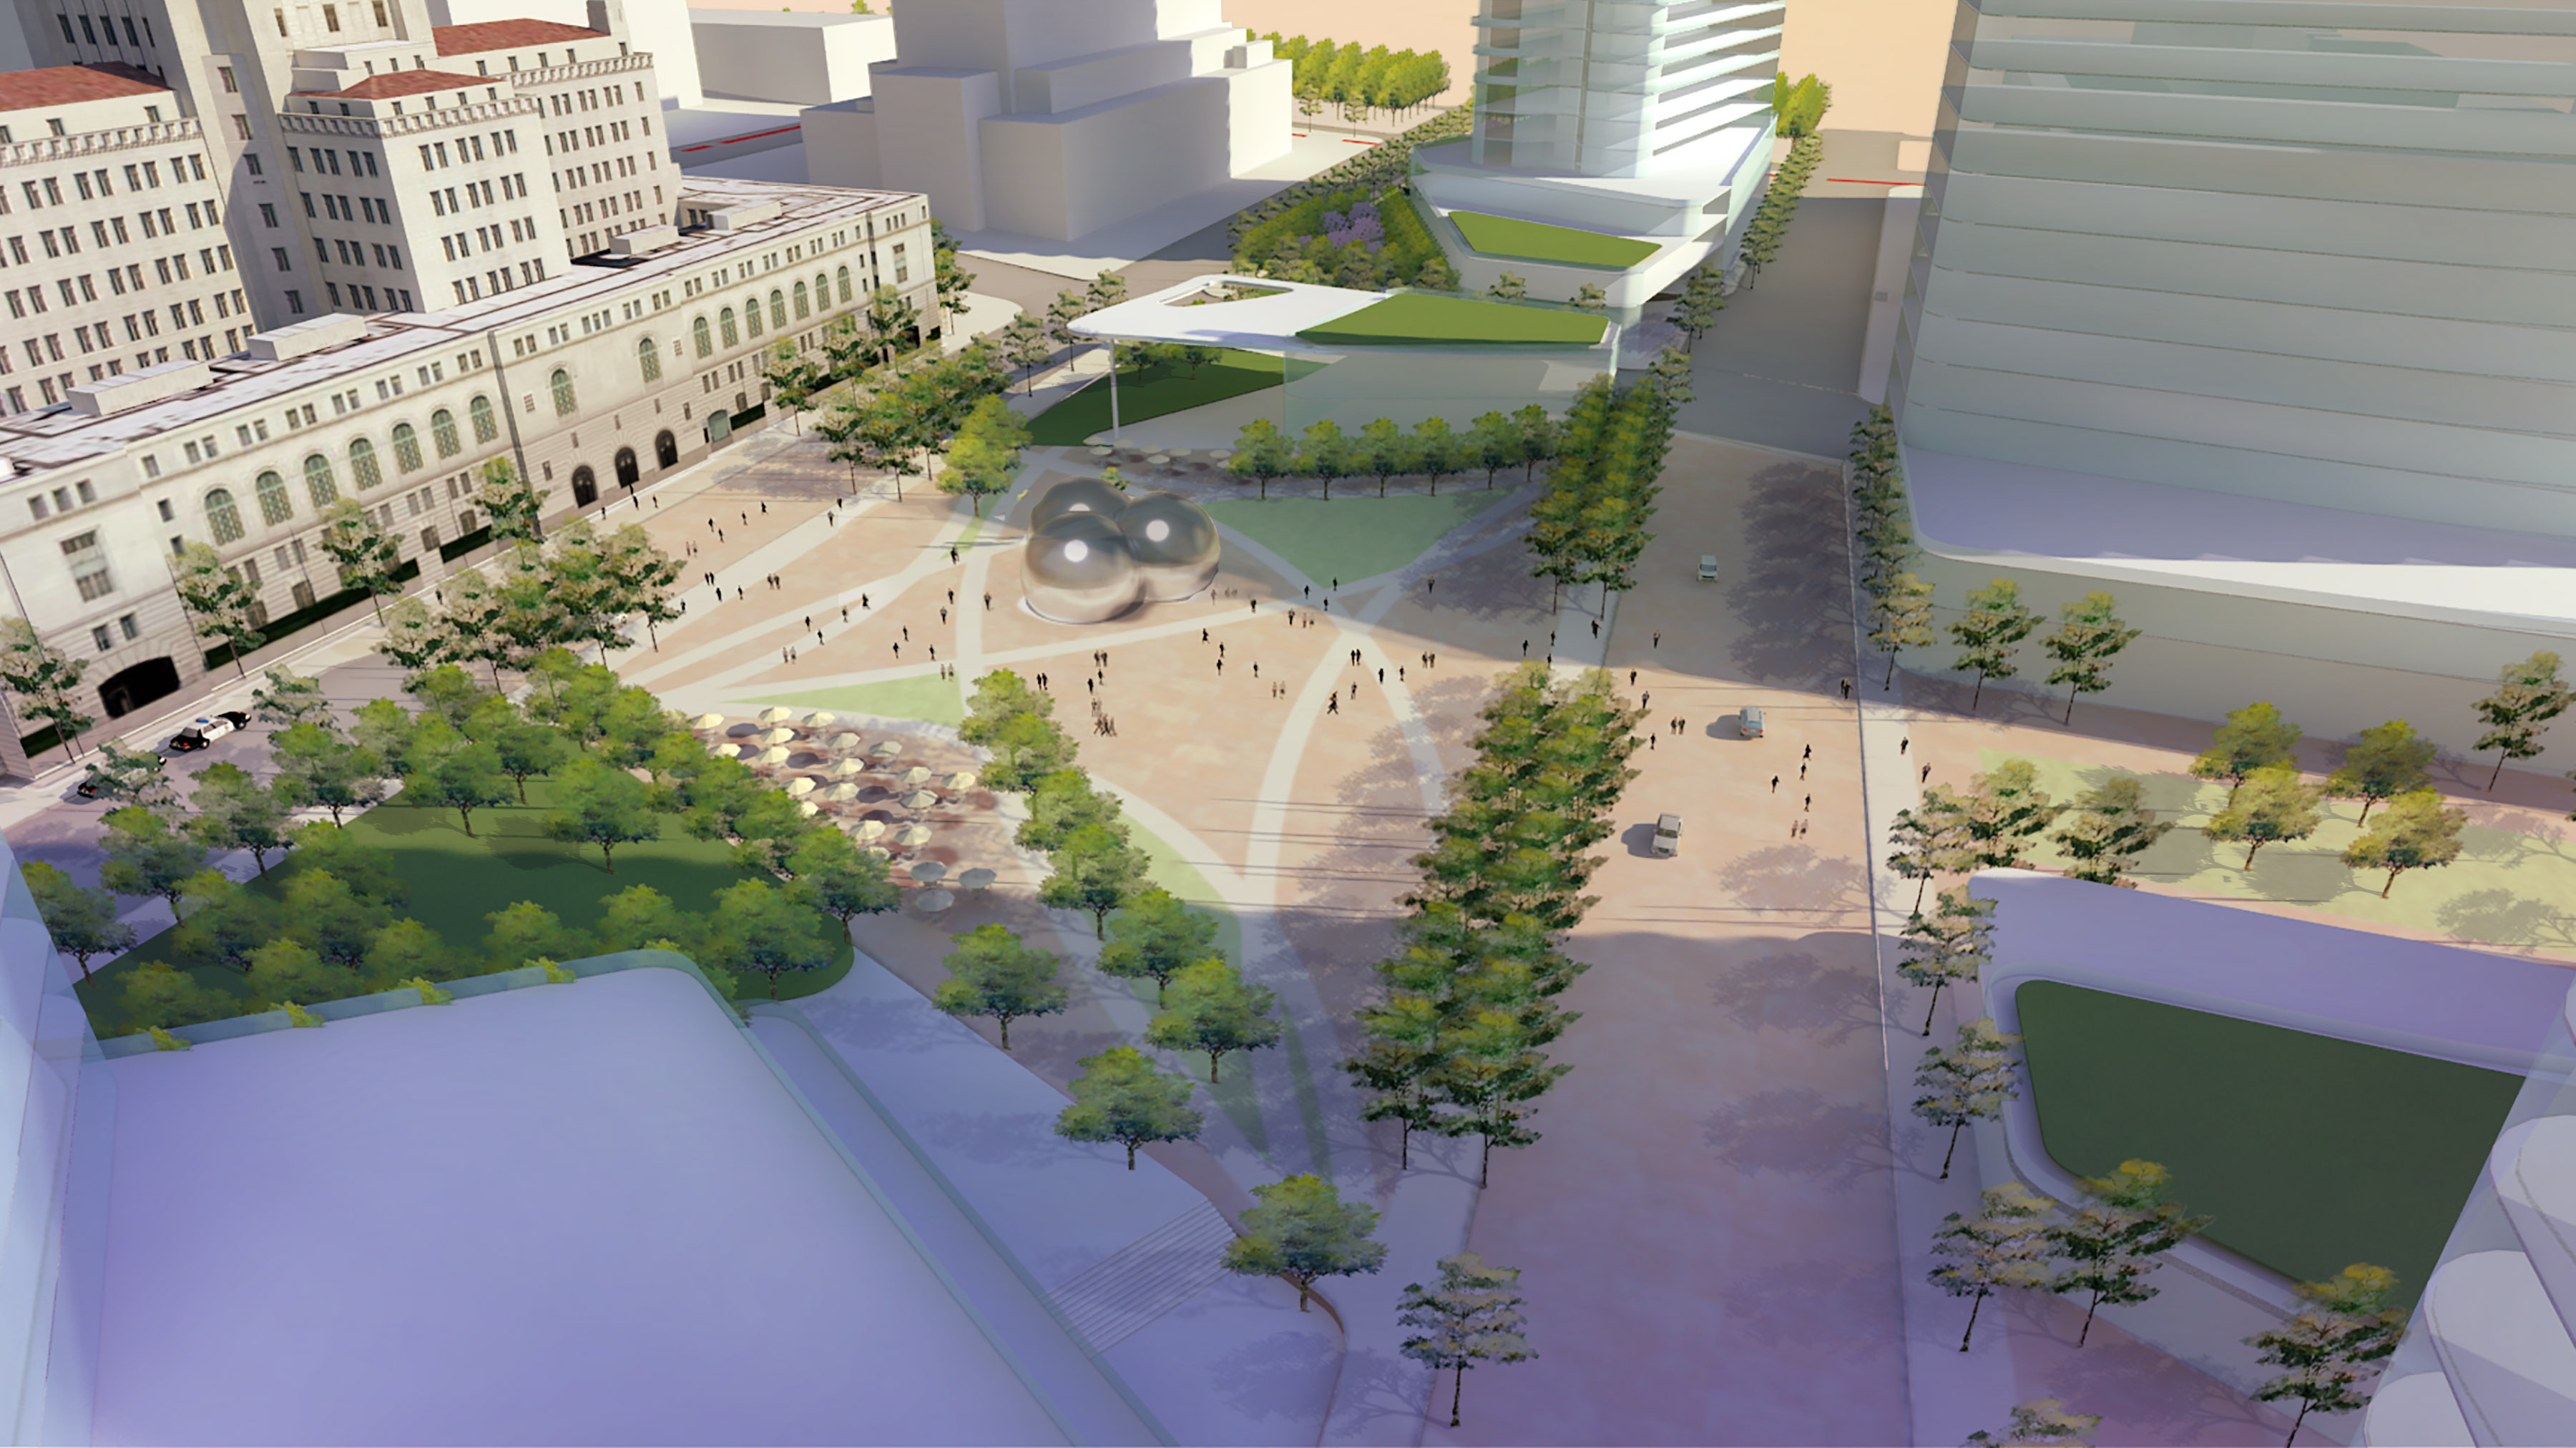
Image above is starting to come together.
Turn on your lines layer and set layer style to multiply.
Adjust transparency or lighten lines till they fade and are just barely noticeable.
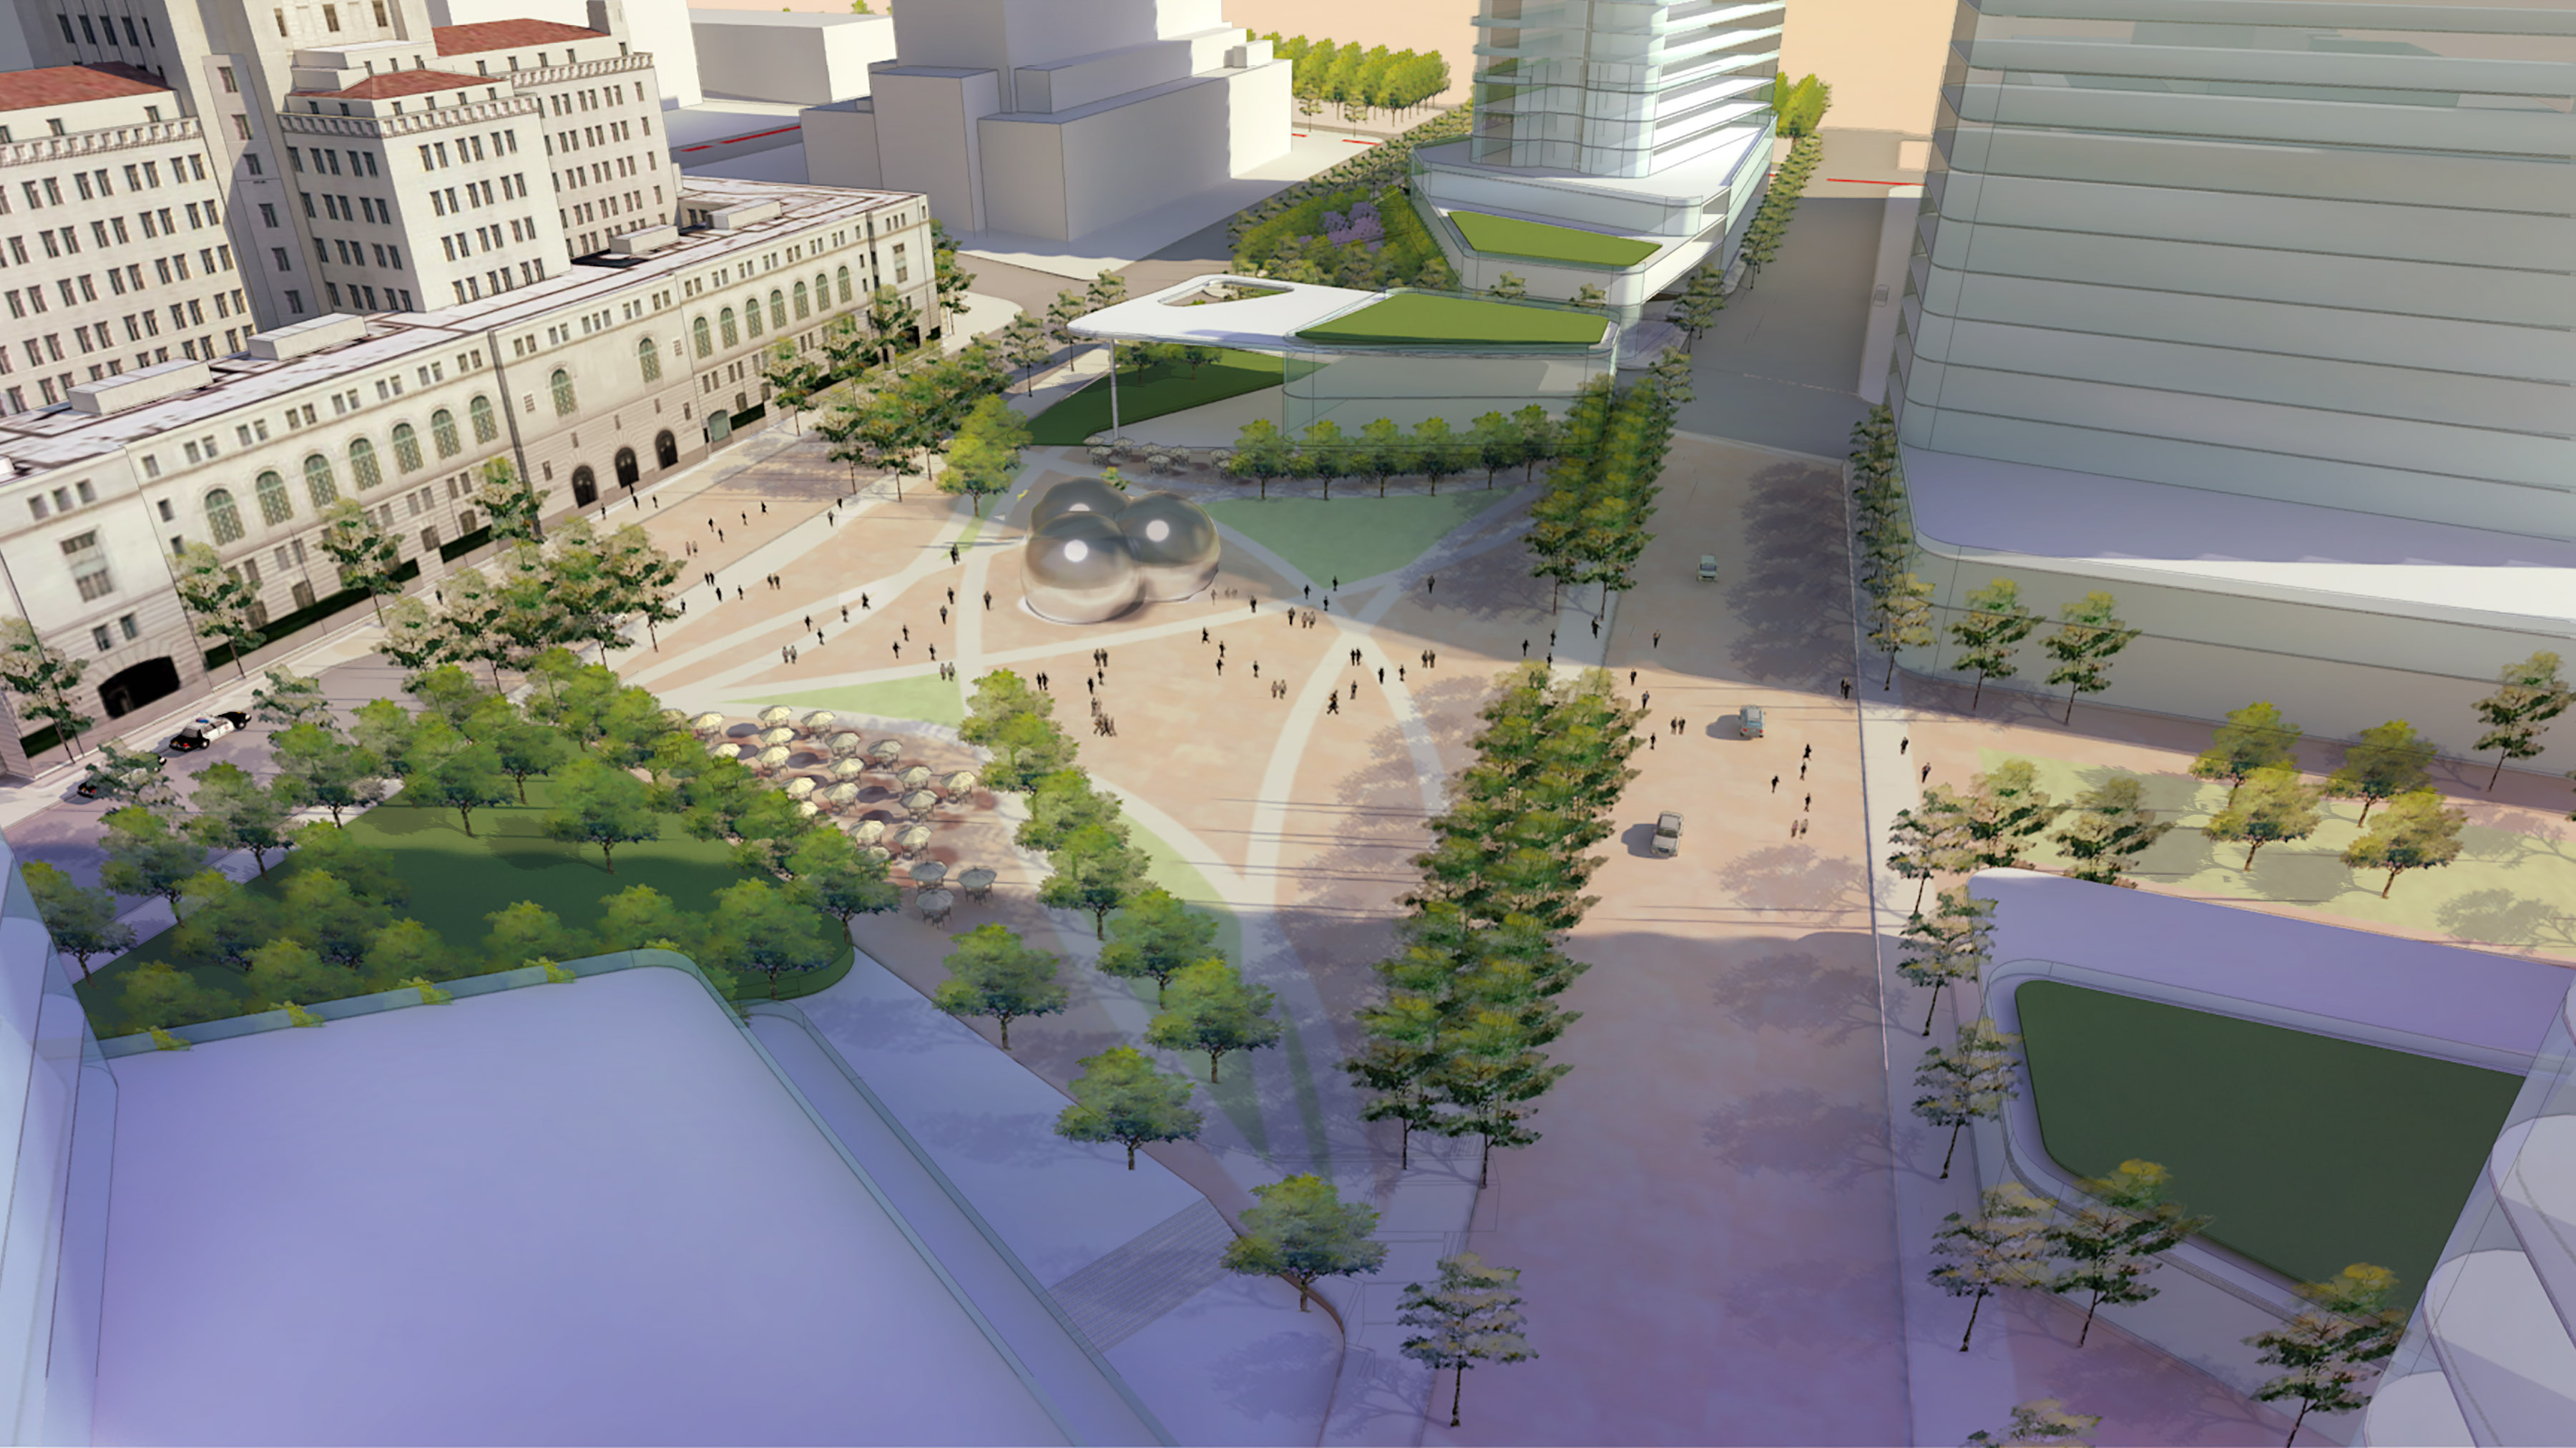
View with lines overlaid.
Turn on your paper texture layer. Set layer style to Multiply.
Adjust transparency to 60%.
This is sort of an optional step but if your view is still looking too crisp to feel like a convincing watercolor, duplicate your VRAY color layer and go to Filter/Artistic/Drybrush. Set size and detail to 10 and texture to 1. This blurs the image a bit and gives it a more painterly feel. (NOTE: Careful not to use too much as it begins to negate the effort of creating a nice VRAY render).
Adjust transparency to taste. I set mine at 20% so it just begins to soften the crisp VRAY edges and colors.

Last step is to any final clean up or edits like adjusting brightness and contrast. I also boosted the green grass a bit so it pops better. I also added a border around the view as if I just peeled the drafting tape off my recently painted masterpiece.
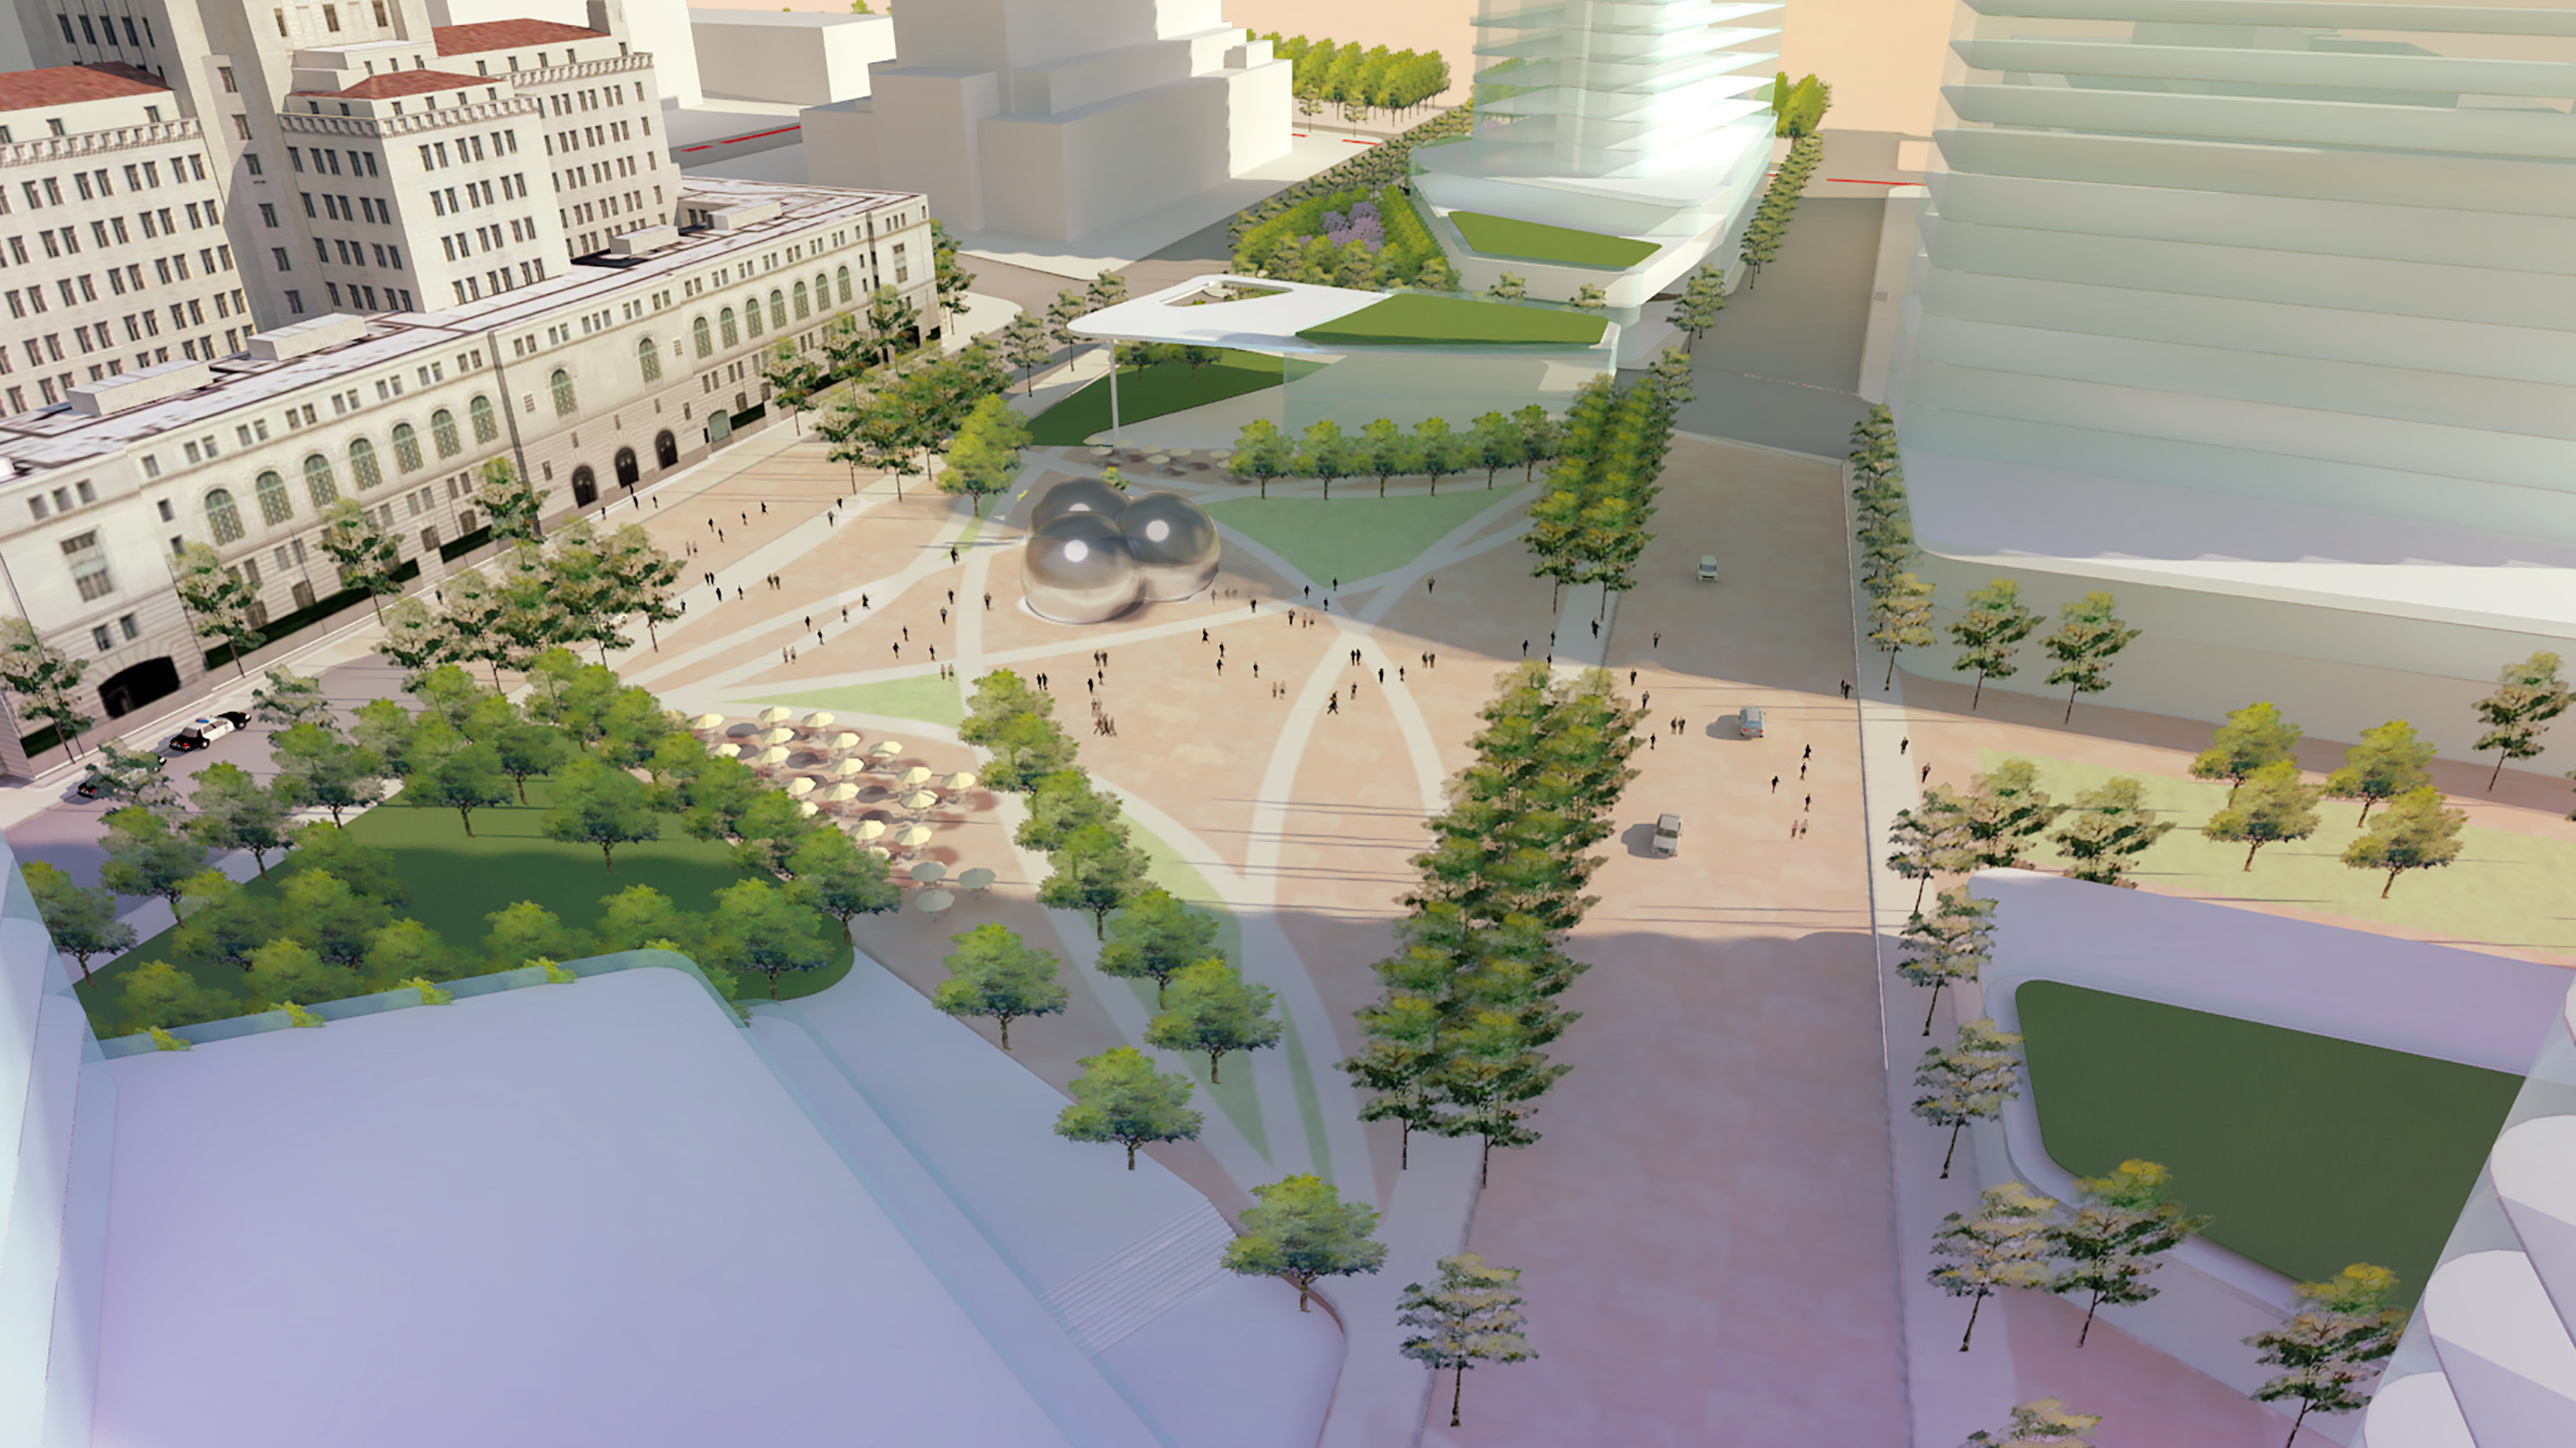
Here’s a detailed view of the final render. Total time from start to finish = less than 30 mins.
Feel free to try this method out. I would love to see any examples of someone trying this out on their own work so please send me samples if you have them.